
Free of The Heat
One of the perks of getting Private Label hair extensions is styling human hair as if it is your hair.
You can curl it, straighten it, and even dye it. You have the confidence of doing any hairstyle you would like with your hair extensions without any worry. This means that adding heat, hair styling products, and styling tools to keep up with your desired look is possible at all times.
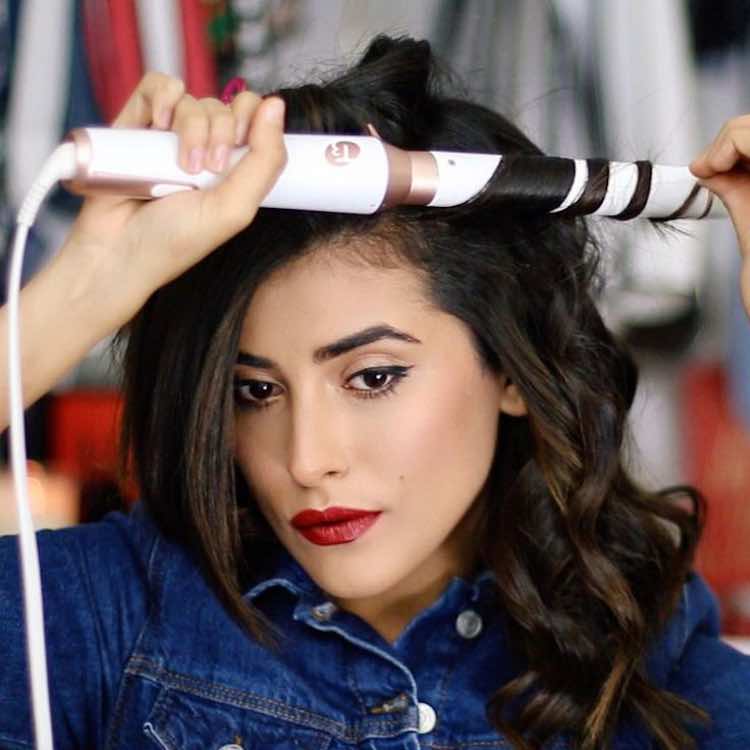
Hair tools such as curling irons are supposed to be an invaluable tool when styling your hair, especially for cute bouncy curls, right? Well, as they say, technology has its pros and cons for humanity.
Yes, hair irons can be a lifesaver and timesaver, but always remember that they could damage your hair extensively if the right heat damage preventative steps are not in place.
How Do You Get Heat Damage?
Putting an excessive amount of heat with a flat iron, curling iron, curling wand, etc. onto your hair can create heat damage.
Heat damage happens when you apply too much heat to hair strands. It can make the hair dry, and no longer in its natural state. Heat damage can occur with your natural hair and hair extensions. Leaving your electric hair iron on one spot on your hair is a mistake many people make when trying to style their hair with heat.
Heat damage is possible when repeatedly using electric hair iron every day. This could also happen when the hotness is set too high on iron.
Let’s look at the pros and cons of electric hair irons.
Pros to using a hair iron
- They are affordable. You can find a hair iron for an excellent price.
- There is the flexibility of changing your hairstyle in minutes.
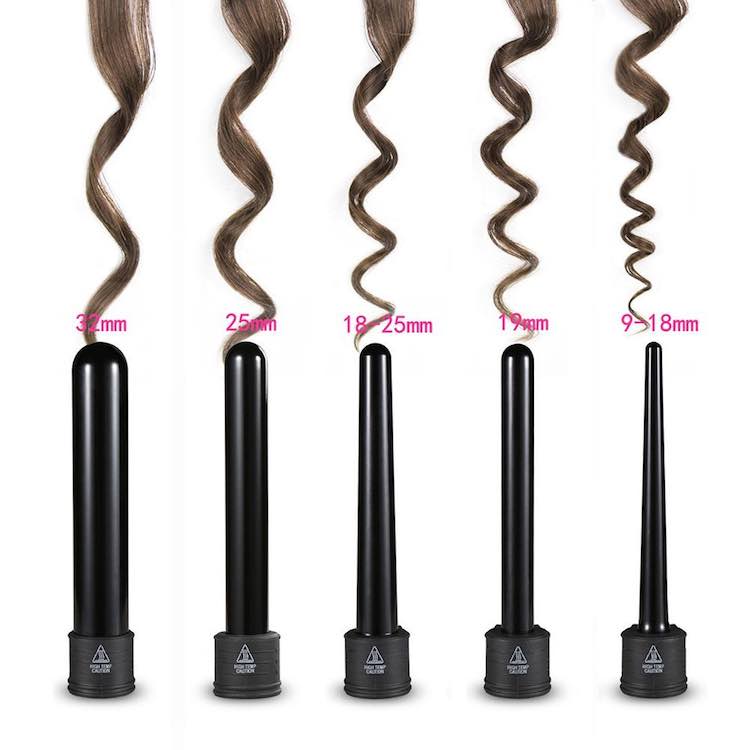
- You can find hair irons in different sizes and shapes to fit your desired style.
Cons of using a hair iron
- The hair can get dry and damaged with repeated use.
- The hair can get dull and brittle.
- You can fry your hair! Some hair ends look burnt because there was too much heat on the hair.
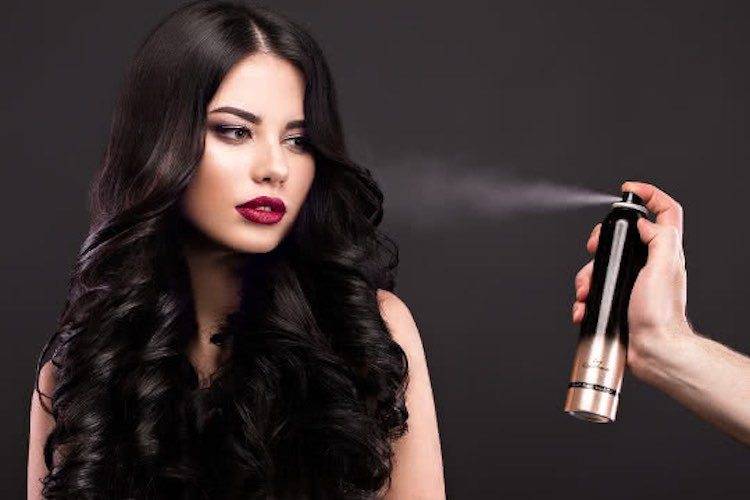
While the pros and cons weigh, it is also good to know that heat protectant products are available for use.
Heat protectant is a product that reduces the damages to your hair when used before heat styling. Spraying the product on the entire pieces of hair before heat styling reduces hair damage. It’s almost like sunscreen that protects the skin from sun damage.
This method of protecting your hair from heat damage is popular. Remember that heat protectant reduces damage to the hair, not prevent damage. Always be mindful when styling your hair with an electric hair iron.
Curl Your Hair Without Heat Damage
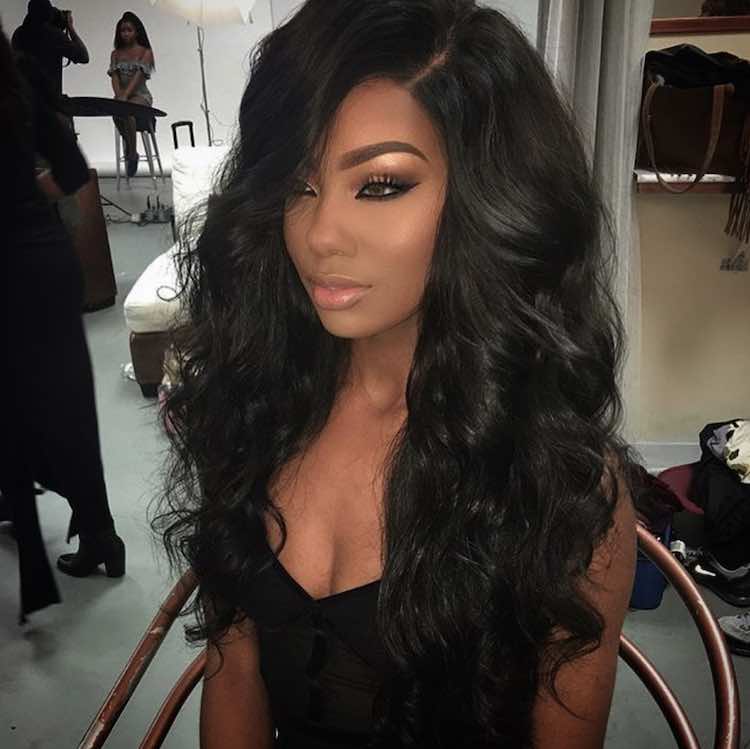
Is it possible to curl your hair extensions HEATLESS? Yes, it is possible. You can get the same gorgeous curls without any heat!
Reasons For Having Heatless Curls
Heatless curls are a great way to make sure your hair extensions are staying beautiful, healthy, and long-lasting. You don't need to damage your hair for some nice waves.
Great products To Purchase For Heatless Hair Curls
You need special products to curl your hair extensions heatless. Many people use a leave-in conditioner. It is a great way to detangle hair, reduce frizz, and keep curls soft and luxurious. Other alternatives are water and hair spritz.- Aunt Jackie's Curls & Coils Quench! Moisture Intensive Leave-In Conditioner
- It's a 10 Miracle Leave-in product
- Suave Avocado + Olive Oil Leave-in Conditioner
- Dove Absolute Curls Supreme Crème Serum
- Garnier Fructis Style Sheer Set Breathable Hold Hairspray
This hairspray is a great holding spray for curls.

Five Ways To Curl Your Hair Extensions Without Heat Damage
Note: Many heatless hair curls hairstyles do require an overnight process.
1. Spiral Wand Curls
These curls are your favorite traditional curls.You need:
- Flexi rods
- Hair Clips
- Detangling Brush
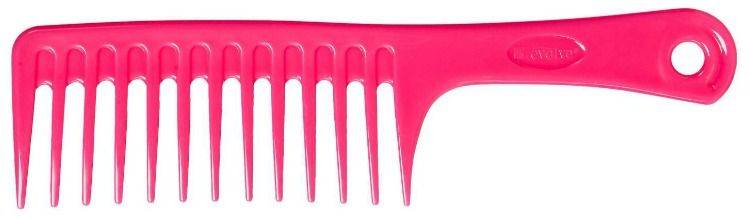
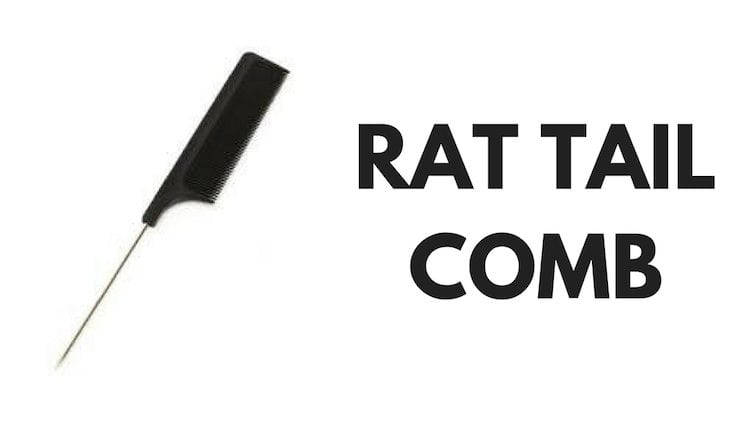
- Fine tooth rattail comb
- Leave-In Conditioner
*Wash the hair extensions and condition it before styling.
Step 1:
Create hair sections. Use hair clips to hold other parts of your hair out of the way if your hair extensions are already in your head.
Step 2:
Brush on the hair section thoroughly. Make sure there are no hair knots.
Step 3:
Apply a leave-in conditioner on the hair section. All portions of the hair section should be covered in hair conditioner, but not too much, making sure the hair is damp.
Step 4:
Apply the Flexi rod to the hair. Make sure you tuck at the end of your hair to the Flexi rod, so they are secure. Wrap the hair around at a windmill motion. As your twisting the hair, you are also turning the Flexi rod to make a spiral curl.
Step 5:
Secure the twisted hair by bending the Flexi rod.
Step 6:
Repeat this process for all the other sections.
Step 7:
If hair extensions are already in your hair; use a headscarf while you sleep overnight.
Step 8:
The next morning, Remove the Flexi rods. Be careful when you take the Flexi rods out to reserve the hard-earned curls.
Step 9:
Use a fine-tooth rattail comb to take out your curls.
Step 10:
Spray the hair with hairspray.
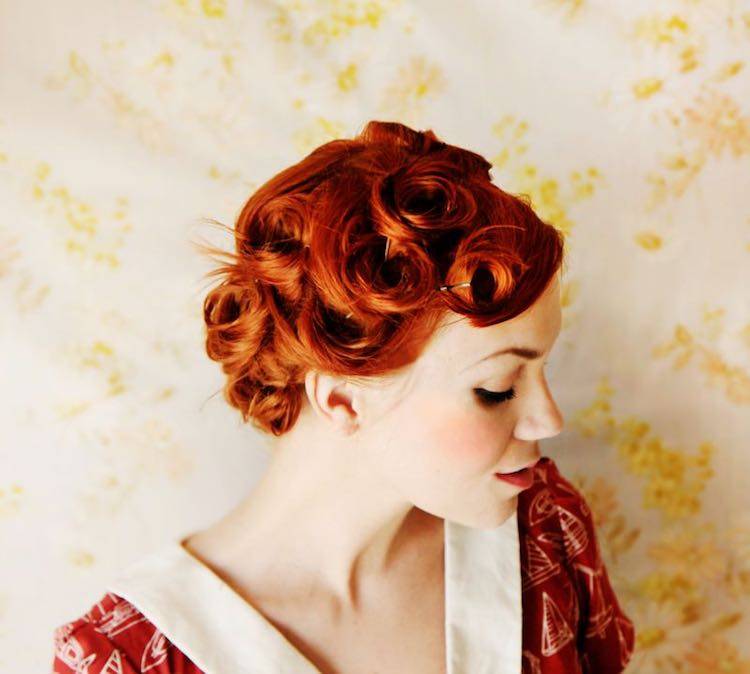
2. Pin Curls
Pin curls are crowd favorites when curling and styling hair.
You need:
- Bobby Pins
- Hair Clips
- Detangling Brush
- Fine tooth rattail comb
- Leave-In Conditioner
- Bobby Pins
*Wash the hair extensions and condition it before styling.
Step 1:
Create hair sections. Use hair clips to hold other parts of your hair out if the way if your hair extensions are already in your head.
Step 2:
Brush on the hair section thoroughly. Make sure there are no hair knots.
Step 3:
Apply a leave-in conditioner on the hair section. All portions of the hair section should be covered in hair conditioner, but not too much, making sure the hair is damp.
Step 4: Take the section of the damp hair and begin to wrap the hair around one finger curling it up to the roots of the hair.
Step 5:
Secure the pin curled hair with a bobby pin.
Step 6:
Repeat this process for all the other sections.
Step 7:
If hair extensions are already in your hair; use a headscarf while you sleep overnight.
Step 8:
The next morning, remove the bobby pins. Be careful when you take the bobby pins out.
Step 9:
Use a fine-tooth rattail comb to take out your curls.
Step 10:
Spray the hair with hairspray.
3. Heatless Wavy Curls
These curls are wavy hair. The method is braiding the hair to get the wavering style.You need:
- Hair Clips
- Rubber bands
- Detangling Brush
- Fine tooth rattail comb
- Leave-In Conditioner
*Wash the hair extensions and condition it before styling.
Step 1:
Create hair sections. Use hair clips to hold other parts of your hair out if the way if your hair extensions are already in your head.
Step 2:
Brush on the hair section thoroughly. Make sure there are no hair knots.
Step 3:
Apply a leave-in conditioner on the hair section. All portions of the hair section should be covered in hair conditioner, but not too much, making sure the hair is damp.
Step 4:
Take the section of the damp hair and begin to braid the hair from the roots all the way to the ends.
Step 5:
Secure the braid by tying a rubber band at the roots.
Step 6:
Repeat this process for all the other sections
Step 7:
If hair extensions already in your hair; use a headscarf while you sleep overnight.
Step 8:
The next morning, remove the rubber bands and unravel your braids.
Step 9:
Use a fine-tooth rattail comb to take out your curls.
Step 10:
Spray the hair with hairspray.
There you have it, cute wavy curls.

4. Using Curlformers for Cute Bouncy Curls
You need:
- Curlformers by Hairflair (Either Corkscrew or Spiral)
- Soft hood by Hairflair
- Hair Clips
- Detangling Brush
- Fine tooth rattail comb
- Leave-In Conditioner
*Wash the hair extensions and condition it before styling.
Step 1:
Create hair sections. Use hair clips to hold other parts of your hair out if the way if your hair extensions are already in your head.
Step 2:
Brush on the hair section thoroughly. Make sure there are no hair knots.
Step 3:
Apply a leave-in conditioner on the hair section. All portions of the hair section should be covered in hair conditioner, but not too much, making sure the hair is damp.
Step 4:
Take the section of the damp hair and begin to twist the hair at the root.
Step 5:
Attach the Curl formers hook to the root of your hair. Then, pull it through.

Step 6:
Repeat this process for all the other sections. If the hair extension is not already in your hair, find a place to hang the hair extension to use the Curlformer successfully. An example would be a hook in the house or a hanger. You will need to place the hair extensions at a place that has a grip while you pull the Curlformer.
Step 7:
Use the Soft hood Hairflair to dry the hair. Sit under for 30 to 40 minutes.
Step 8:
Remove the Curlformers by pulling it out of your hair.
Step 9:
Use a fine-tooth rattail comb to take out your curls.
Step 10:
Spray the hair with hairspray.
5. Get Great Curls by a Twist Out
You need:
- Hair Clips
- Jumbo Bobby Pin
- Detangling Brush
- Fine tooth rattail comb
- Leave-In Conditioner
*Wash the hair extensions and condition it before styling.
Step 1:
Create hair sections. Use hair clips to hold other parts of your hair out if the way if your hair extensions are already in your head.
Step 2:
Brush on the hair section thoroughly. Make sure there are no hair knots.
Step 3:
Apply a leave-in conditioner on the hair section. All portions of the hair section should be covered in hair conditioner, but not too much, making sure the hair is damp.
Step 4:
Take the section of the damp hair and begin to braid at the root to start off, and then twist the hair all the way to the ends. The idea is to twist three strands of hair, but twist two strands at one time each time you twists, and alternate.
Step 5:
Secure the twists by creating a pin curl for each sectioned twist. Use your finger and curl the sectioned twisted hair up to the roots of the hair. Use the jumbo bobby pin to secure it.
Step 6:
Repeat this process for all the other sections.
Step 7:
If hair extensions are already in your hair; use a headscarf while you sleep overnight.
Step 8:
The next morning, remove the pin curls and unravel your twists.
Step 9:
Use a fine-tooth rattail comb to take out your curls.
Step 10:
Spray the hair with hairspray.
There you have it, your cute twist out curls.
These are great ways to curl your hair extensions heatless. Remember that there are other stylistic wats to do so.
Heated versus Heatless
When comparing heated and heatless curled hair extensions, it boils down to two things. The longevity of your hair extensions and the time it takes to style your hair.
A continuous styling of heatless curls helps to prolong the long-lasting hair extensions while the constant styling of heated hair is prone to damage hair. Heatless curls take a while to curl, and it could take up to hours for hair curls to create while heated curls form in minutes. It is your preference!
Heatless Hair Is Great
Heatless hair curls are great for the life of your hair extensions. It prevents hair damage, and it helps to have healthy hair. It is better to style with healthy hair than to style with heat damaged hair.
Have you ever styled curls without any heat?
