
A Quick Slay I'm Here for It!
It doesn't matter the texture, length or color if you need something done less than two hours a quick weave may be the best option.
I know what you're going to say "Charlie I can't take that glue" that would be a concern for me as well. However, there are products and techniques that a stylist use to prevent your hair from being touched by the glue which is also known as the molding technique.

What is the Molding Technique?
When it comes to molding the hair, it's about making sure the hair is flat and creating a flat hard surface to prevent the hair from being touched by the glue. Depending on the length of the hair you can either braid the hair down use Ampro gel and Robert Diamond Bond Protective Shield to start the molding process.
There are so many different ways to do this process, and none of them are incorrect as long as you are protecting the hair.
Below are the tools that you will need for the molding technique:
- Rattail comb
- Ampro Gel
- Wrap strips
- Gorilla Snot
- stocking caps
- Spritz
- Robert Diamond Bond Protective Shield scissors
- Bonding hair glue (White or Black)
I'm sure that we've all invested hours in watching Youtube videos.
One of my go-to for a quick weave slay is MadaboutMeechie! Madaboutmeechie uses gorilla snot to make sure the hair is flat instead of using gel or the protective shield.
As I watched the whole video, it works for her but always use what makes you comfortable when molding the hair.
Rules to Molding Different Hair Lengths
Molding short hair is a breeze!
When it comes to long hair, you have two options molding the hair while it's braided or putting the hair in a ponytail. Guess what I'm going to guide you on how to do both!
Once you get the flow of the process, you will eventually find different ways to SLAY your quick weaves.

Steps to Slay Short Hair
The hair must be washed and conditioned. I also recommend trimming the client's hair.Step #1
If there's leave out remove the hair, braid it down away from the hair that's being gelled downStep #2
Begin the molding process while the hair is wet or dryStep #3
Once the hair is molded place wrap strips on the hair, this is for extra protection to be sure no glue gets on the hair.Step #4
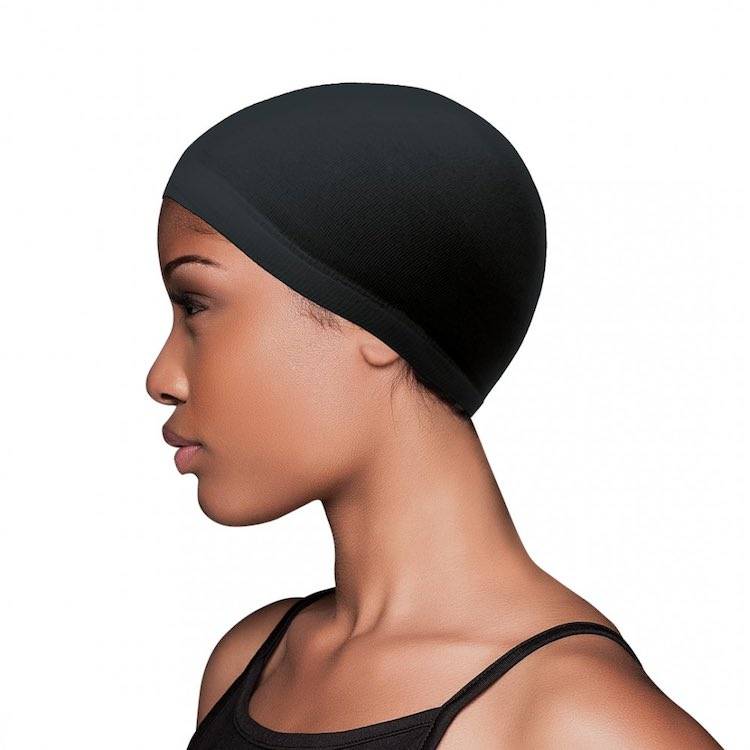
Place the stocking caps on the clients head. One or two whichever you preferStep #5
Spray spritz on the stocking cap (your preference) just for the extra holdStep #6
Put client under the dryer for an hour or until the hair is dry.Steps to Slay Long Hair
Step #1
The hair must be washed and conditioned. I also recommend trimming the client's hair.Step #2
If there's leave out remove the hair, braid it down away from the hair that's being gelled downStep #3
Dry the hair for the braid down.Step #4
Make sure the braids are braided small and flat.Step #5
Place the Ampro gel or Robert Diamond Bond Protective Shield on the braids to began the moldStep #6
Place the wrap strips on the on the braidsStep #7
Put the stocking cap on the client. One or two whichever you preferStep #8
Place client under the dryer until the hair has completely dried.

Step to Slay with a Ponytail
Step #1
The hair must be washed and conditioned. I also recommend trimming the client's hair.Step #2
If there's leave out remove the hair, braid it down away from the hair that's being gelled down.Step #3
Comb the hair back as if you were doing your hair in a ponytailStep #4
Once the hair is in a ponytail, take the remaining of the hair and fold it up and gel it downStep #5
Place the Ampro gel or Robert Diamond Bond Protective Shield on the braids to began the moldStep #6
Place the wrap strips on the on the braidsStep #7
Put the stocking cap on the client. One or two whichever you preferStep #8
Place client under the dryer until the hair has completely dried.Step #9
Once the hair is dry remove the access stocking cap from around the clients headStep #10
Start placing your Private Label Hair extensions in sections of the headStep #11
Once the extensions are in the head unravel the leave out and begin to style the hair

Using the Right Bonding Glue
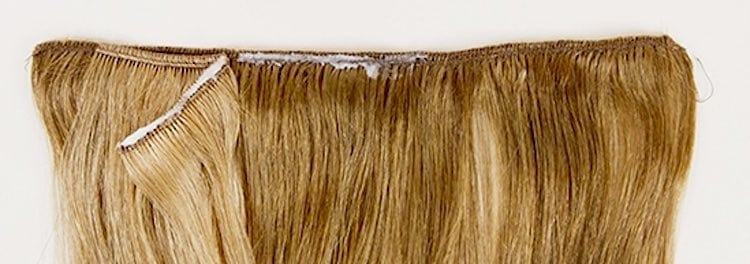
Just a friendly reminder if you're using blonde hair to do a quick weave it's best that you use white bonding glue.
The reason for using the white bonding glue with the blonde hair is for the closing process, and if the bonding glue mistakenly touches the blonde hair, it can remove easily. The white bonding glue is in your local beauty supply store.
We all know to use the black bonding glue when it comes to black hair or any darker color hair extensions. The reasons for that is for the closing process. When getting a quick weave with no hair out you have to close the top of the head. If you use black bonding glue for blonde hair or white bonding glue on black hair, you will see the residue. Why work harder when can work smarter?
I promise if you follow this simple step it will be a success!
The Final Slay
I hope this article was informative and just as good as watching a video on Youtube.
One more thing make sure you visit Private Labels extensions and read the article Quick weave: Everything I need to know to get more details and leave comments so the writer can answer all your questions. Don't just stop there purchase some bundles to achieve the look!
Well, my time is up PLE readers!!! As always, please leave a comment, and I will respond and answer all your questions accordingly. If for some reason I am unable to I will do the research and get back to you!
