Beginners Guide to Wig Making
Wigs have become a lasting staple in the hair business.
With many hair trends arising sometimes, it can be so hard to keep up, yet wigs have been around ever since the ancient days of Pharaoh.
In our modern world, they were once seen by the millennial generation as something worn by the elder or balding. Now don’t get me wrong wigs have always been a go-to item for Halloween costumes but they were not seen by the young as suitable for everyday hair wear.
Growing up seeing many older women wearing wigs I would never have thought that I would start wearing wigs as well, especially in my twenties.
I never thought about wearing them, especially on a daily basis due to fear that it would fall off my head. Then I decided I really wanted to learn how to make a wig.
My Experience with Wigs
Over the years I began wearing wigs for convenience due to a hectic schedule.
By learning more about hair a lot of the myths that I held in my mind about wigs were debunked.
Nowadays even young teens and high school students are wearing wigs.
They have become the most efficient way to consistently switch up your hair without having to cut or color it. In comparison to weaves, wigs tend to need minimal styling and don’t require a long time to install and uninstall.
I can honestly say that wigs maybe one of the most convenient hair methods ever known to man.
Wigs give you easy access to your scalp allowing you to condition, treat, and even wash your hair. What makes wigs even more convenient is that you can make one from the convenience of your own home.
In this blog post, we're going to go through the process of making a wig and the right wig making supplies that you'll need.

Types of Wigs
To first understand how to make wigs one must learn about the various types of wigs and their differences as well as pros.
There are five main types of wigs are lace frontal, 360 lace frontal, closure, partial/half, and full regular.
Let us go into detail about each:
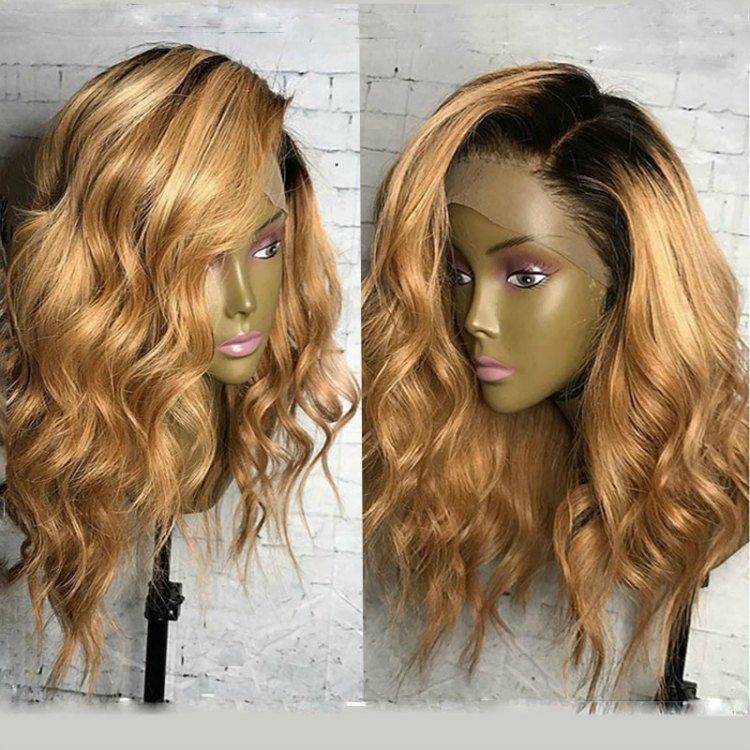
Lace Frontal Wigs
The popularity of "Lace Frontals" has grown significantly in the past year. This goes the same for using them in creating wigs.
Lace frontal wigs give the appearance of a natural hairline. Ladies, this hair can blow in the wind!
There are usually more options with the way you can part your hair as well.
360 Lace Frontal Wigs
A 360 lace frontal wig is very similar to a lace front in that they both have lace yet a 360 lace frontal has lace all over the perimeter (360 degrees) and sometimes even the center.
This creates a natural hairline look all around the perimeter of your head allowing you to be able to wear your hair in a ponytail.
Glueless Wigs
Ready to fall in love with wigs?
In 2024, glueless wigs have soared in popularity. This is due to the easy of popping them on and off while still having a realistic look.
Private Label has worked to make the most realistic looking glueless wigs on the market with bleached knots, glueless band, pre-cut HD lace, and professional color.
Closure based Wigs
This is a wig made with a closure.
A closure is a small piece of hair with a part that is lace or silk-based making it very smooth allowing the wig to lay flat on your hair.
Partial/Half/Front Lace Wigs
A partial or half wig allows you to leave some of your hair out.

Full Lace Wigs
This is the most standard type of wig.
This wig is one of the easiest to find and wear. It also comes in the most variety of styles and colors.
By knowing the differences amongst these types of wigs, you can get a better idea of how to make a wig which is best for you.
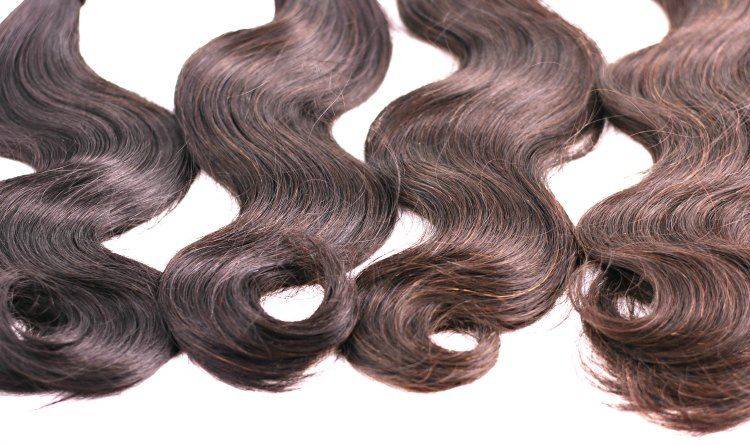
Another important factor to take into consideration when making one is the type of hair extensions to use. Depending on the kind of hair you chose the price of making your wig will significantly vary.
Synthetic hair is the cheapest type of hair and comes in potent colors. The downside of synthetic hair is that it usually lasts for a few months.
Human hair is the next expensive, and it is more durable than synthetic hair.
Virgin hair is the most durable of all hair. Unlike synthetic hair and human hair, both heat and color can be applied with no damage. Virgin hair can also be reused for years making it more expensive due to the quality.
I highly recommend a virgin if you want to achieve an everlasting wig.
How to Make a Wig Cap
Wig caps are used to ensure your natural hair lays completely flat while wearing your wig. This gives a more realistic look to wearing a wig versus it looking like a hat sitting atop your head.
Wig caps offer great protection for your hair and scalp while preventing your wig from slipping off. Making your own wig cap allows for more flexibility and proper custom fitting to your head size. I'd like to share with you three simple steps on how to make a wig cap on your own using stockings.
Step #1
Using a nylon stocking, you will pull it over the crown of your head until the opening lands directly at your hairline edge.
Step #2
You will then take the unsecured portion of the stocking and grasp it one inch away from your scalp. Doing this will make sure the wig cap is not too tight or uncomfortable.
Step #3
Use your other hand to take the end of the stocking to create a loop by wrapping it around the one inch away from a portion.
Fold it through the loop and pull both ends tightly in opposite directions to create a knot. Take a pair of scissors to cut the remaining stocking above the knot.
Do It Yourself Wig
Making your own wig can seem intimidating, difficult, time-consuming, and tiring. Therefore, most individuals trust a professional to create one or they just do a retail purchase of a desirable unit.
However, with the right tools and mindset, creating your own wig is effortless. A do it yourself wig has many beneficial factors that will make you think twice about going to a professional or even purchasing an already made unit offline. You have the convenience of saving money, the flexibility of being on your own time schedule, and more.
How to Make a Wig
You can do this! Remember, your first time making a wig is probably going to be a learning process that everyone goes through. Not even the best stylists didn't learn how to make a wig on their first try and create something that is going to go viral. It's a process so let's get started.
Wig Making Supplies
Now that you know the types of wigs and types of hair let us talk about the tools you will need to make a full regular wig. As discussed earlier, having the proper tools for making a wig will set you up for success. This is the most standard wig, and the construction methods of this type of wig serve as the primary method for most.
You will need the following:
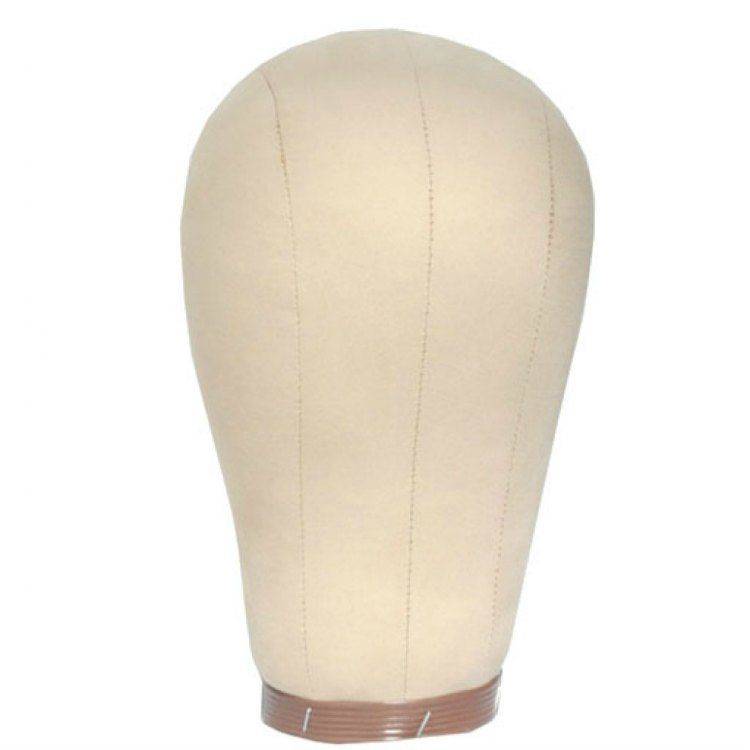
- Wig head (mannequin head)
- Hair (Sew-in Extensions)
- Wig Stand or Tape
- Needle & Thread, Hair Glue & Blow Dryer or Hot Glue gun & Sticks
- Adjustable Dome Wig Cap
- Wig Combs
- Wig band
- Scissors
- Lace Frontal glue (optional)
You can purchase many of these tools at your local beauty supply store. Depending on the type of wig you chose to make you may need to buy lace frontal glue to secure the hairline of your wig down.
Let's Create a Wig!
Step 1 - Wig Head
Mount your wig head on a wig stand or set it down on a chair or table with tape.
Tip: You want your wig head to be stable while you are making your wig for easier construction.
Step 2 - Prepare Hair Extensions
Measure and cut your extensions to fit the circumference of the wig cap while securing them down from back to front.
As you get midway through your cap, start laying the tracks down in a more U-shape pattern.
You can secure your hair extensions down by using needle & thread, hair glue & blow dryer or hot glue gun & glue sticks.
Tip: Needle and thread is the most secure method yet takes the longest to install. Hair glue and hot glue are both fast, yet hot glue is a bit more durable yet must be done with caution because the glue is hot.
Step 3 - Closure or Frontal?
If you are creating a wig with a closure or a lace frontal you should lay that piece down first and then add the remaining extensions.
This will help you see how much hair you need and allow you to chose where you want the closure or frontal to lay on your head.
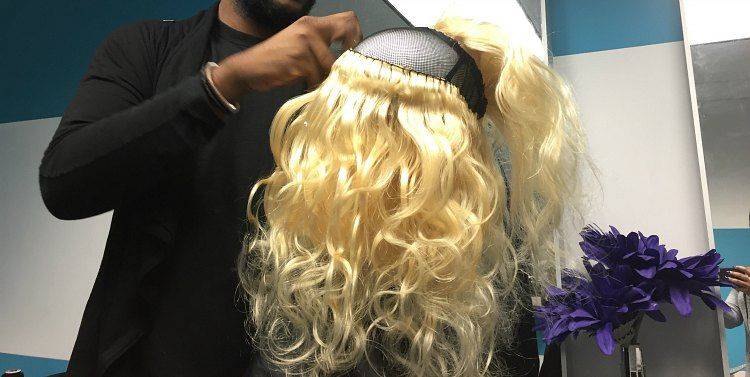
Step 4 - Track
Cover the hair cap with track extensions while being cognizant of the way you would like your frontal part to lay.
Step 5 - Wig Band
Add a wig band and wig combs to the inside of your wig to add security to your wig when wearing it.
Tip: Remove any lace if you are creating a frontal wig.
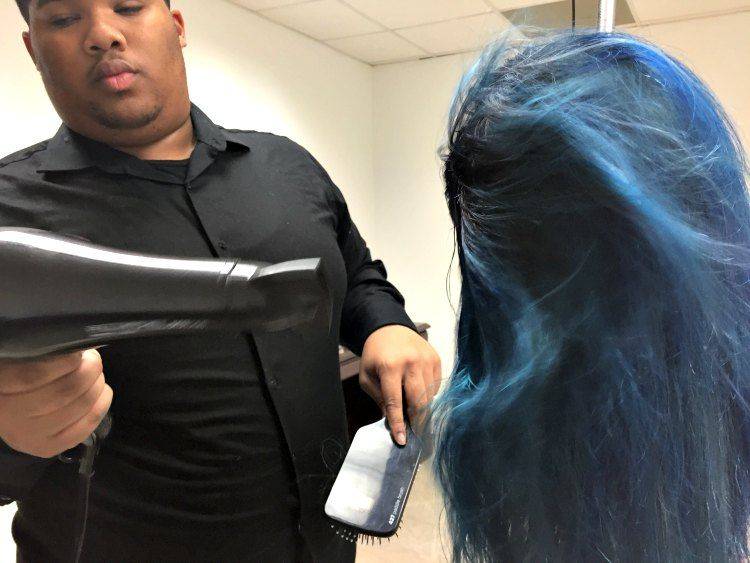
Step 6 - Style
Once your full wig is done, you can choose to cut the front of your wig into blunt bangs, a side part, middle part or if you select curly hair you can rock it as a fro.
Tip: If you would like to color your hair I highly recommend doing that before constructing your wig.
Accessories for Wigs
Wig accessories are necessary for the care of your new wig.
Properly caring for your wig, as we discuss in more detail here, is essential to the life of it and treating it as you would your natural hair. Check out a few of these items you can include in your wig regimen to make your wig life effortless!
Wig Stands
Wig stands are essential to not only maintain your new wig for storing but also assists in making the styling process easier.
Wig stands also help your wig dry properly after a thorough shampoo. Wig heads are great for holding the wig in shape to ensure it conforms to your head properly.
Now although wigs seem like they can be intimidating we just showed you that they are not that hard to make at all.
It Just Takes Practice!
Making a wig for the first time will probably be your worst. That's OK!
It still might turn out great.
The key is to understand this and continue to improve your wig making skills and having the best wig making supplies. It takes time to be a pro like The Hair Diagram or other stylists that have been doing this for years.
Comment below if you have any wig making questions. We would be happy to help!

8 comments
Thank You So Much For This Lesson,I Have Really Learnt A Lot Today. I Look Forward To Making Better Wigs.
I enjoy the info you shared 😘
This is great. Where do I stock affordable natural hair weaves in Johannesburg?
I’m really pep up with your teachings. Looking forward to make one myself
Thank you
I like how you do your teachings, am a beginner and have been really encouraged by your lessons, I doubted myself at the making of wigs ,by the way thanks.