

1260 Memorial Drive
Atlanta, Georgia 30316
404-458-1330
How to Make Your Hair Extensions Last
Mikey MoranNow, ladies, we all know how expensive human hair weave can be, so let us guide you on how to care for them properly.

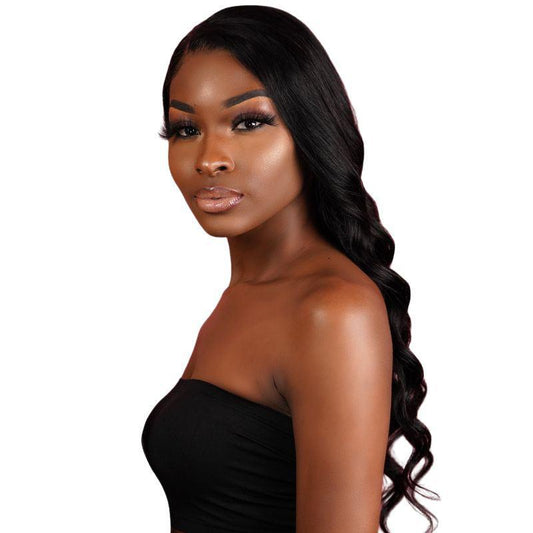
I don't know about you all, but I love a bomb weave, preferably 18 inches with a part straight down the middle.
However, how well you care for your hair extensions will have a significant influence on how flawless they will be and how long they will last.

Before Install
I can't stress enough how important it is to wash your natural hair before installing your extensions.
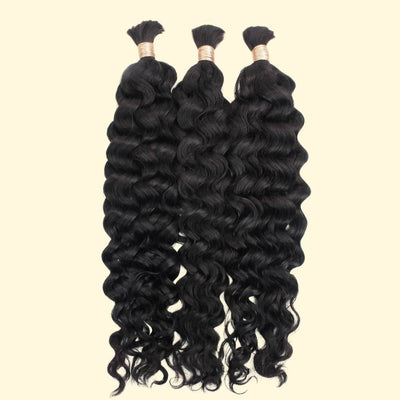
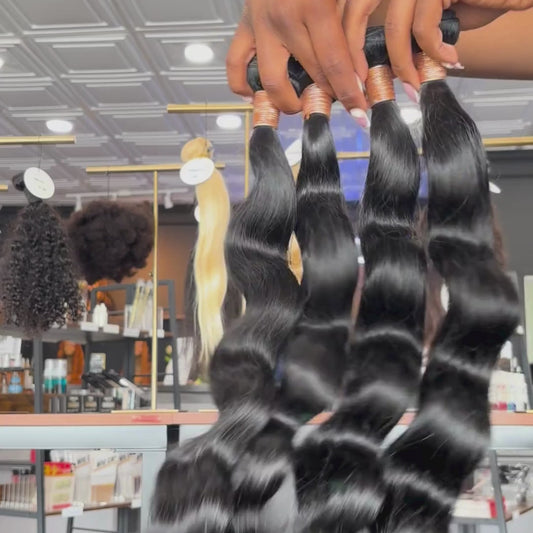
Private Label offers human hair bundles that are raw, but we do co-wash them, so they are ready for installment. However, you can still wash them at your discretion.
I had to learn the hard way after having my hair installed before cleaning it, and I couldn't keep my fingers from out of my head due to the itchy, dry scalp.
The best shampoo and conditioner for your hair and bundles is Organix Moroccan Argan Oil.
You can find it at pretty much any drug store (It goes on sale at CVS often). Now we know sometimes times are hard so if you're a beauty on a budget, I would suggest Garnier Fructis carry a variety of hair products.

How to Co-Wash Your Hair
- You can simply co-wash your hair by wetting the hair with water.
- Apply a moisturizing oil-free conditioner from weft to tip. Use enough to moisturize your hair generously.
- After conditioning your raw hair bundles to comb through the hair with a wide-tooth comb and let the conditioner sit for about 15 to 20 minutes so that it can lock in moisture.
- Now that your extensions rehydrated make sure you rinse out all the conditioner from the hair.
- Lastly, gently pat your hair extensions with a towel to remove excess water from the hair, and let it air dry.
- Don't rub the hair together because it will create frizz and tangles that are unmanageable.

Installing Hair Extensions
Your hairstylist can also consult with you on what they suggest for your hair. Don't be afraid to share any questions or concerns, remember this is your money and hair.
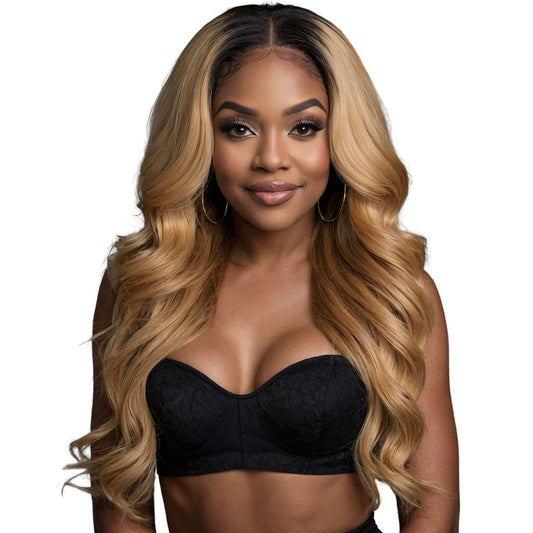
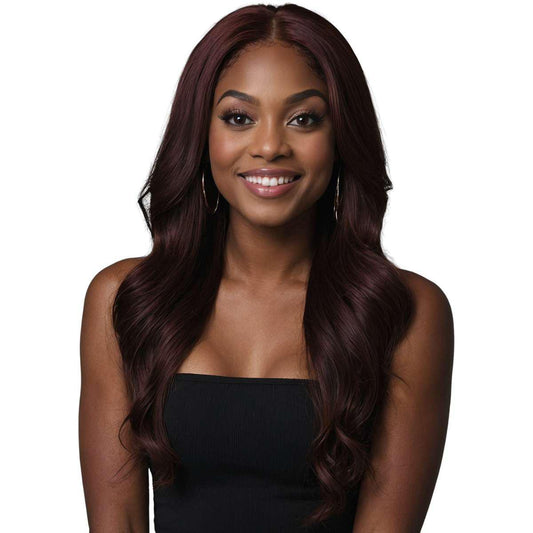
Hair extensions last up to one year and sometimes longer if taken care of properly.
When I get my weave sewed in, I always tell my hairstylist not to cut my bundles while installing them because their more complicated to re-install after.
It's better to have your hair installed by the whole weft to preserve them.
Tell your stylist about the folding weft method.
They can get started by sewing in the extensions from right to left once you work your way over merely fold it over in the opposite direction.
To eliminate lumps or bulk on the side, just press the folded edge down good and sew it into place.
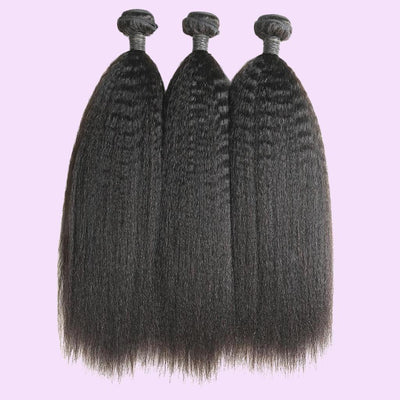
Depending on your style of choice its always good to keep the length of your hair also. It's still good to think ahead when getting your hair styled. Because if you wanted to aim for a Kinky Curly Hairstyle you will want length to begin with.
In the future, you may want to recycle this same hair for a different style. Get your money's, worth ladies!
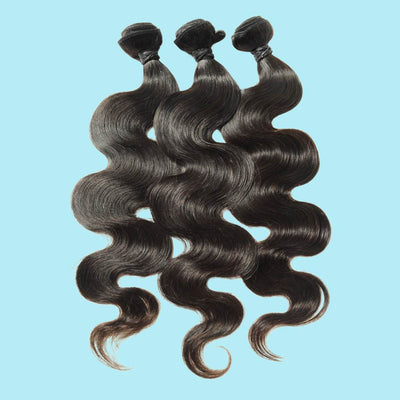
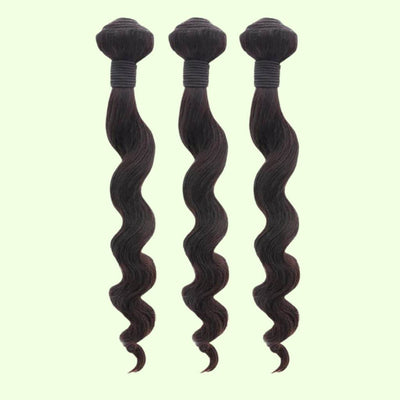
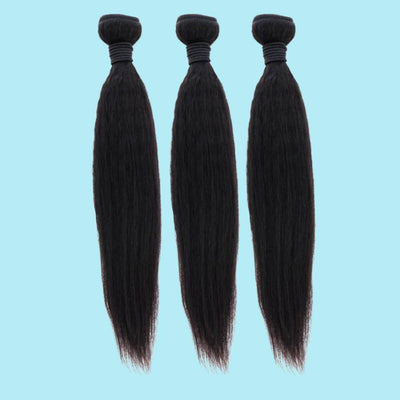
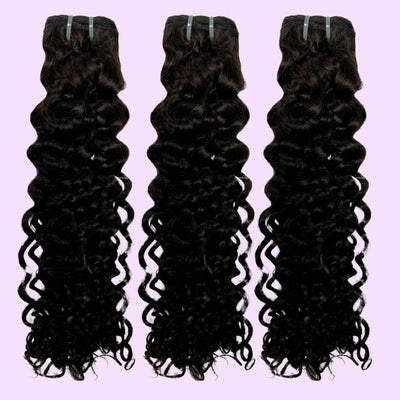
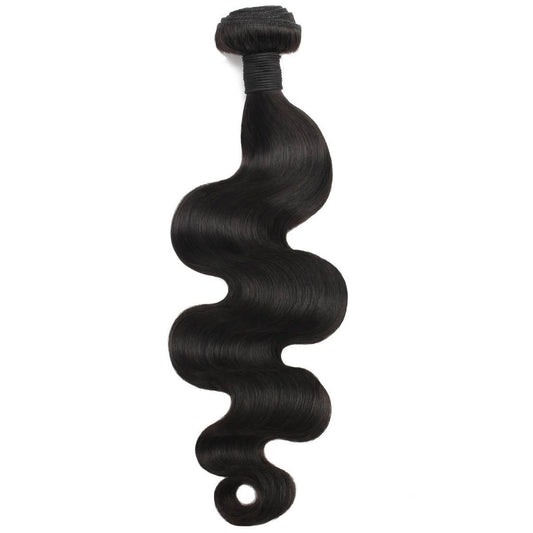
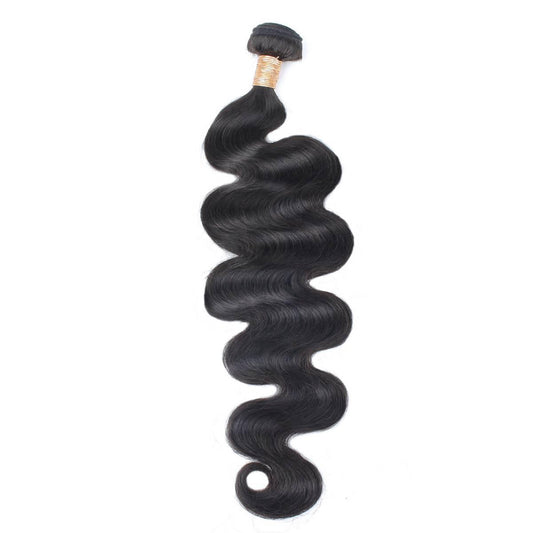
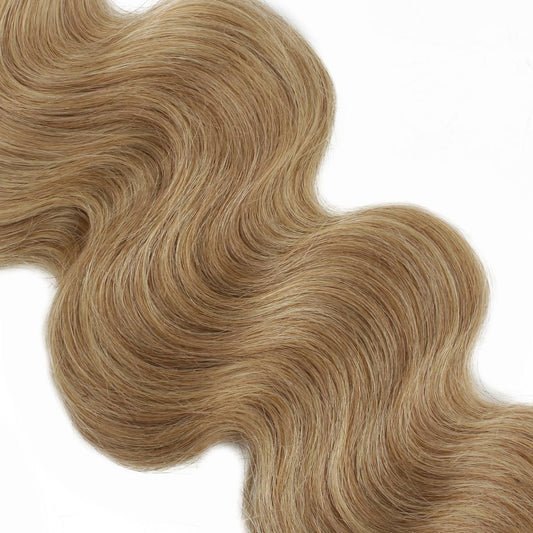
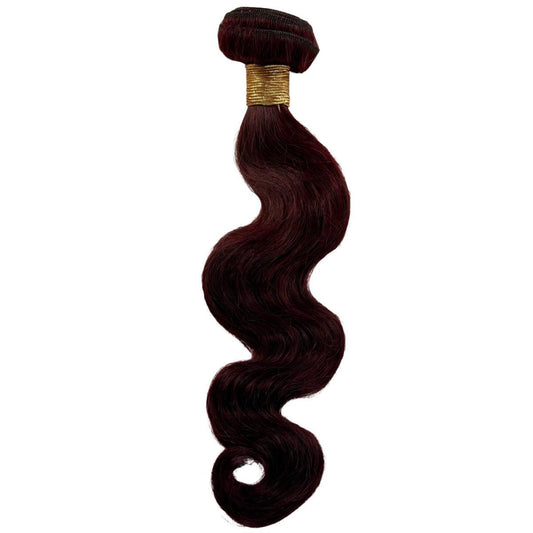
Bundles are great for so many reasons longevity being one.

Post Install
So it has been about a month since your install, and although your hair weave is still flowing, you know that you're going to have to dig in your hair basket for a touch-up.
Based on your hairstyle here's how to take care of your hair.
Traditional Sew-Ins
Generally, with a traditional sew in a portion of your hair is out which means it will require extra maintenance.
When you wash your bundles, you will also need to wash your natural hair. Make sure to deep condition your leave out blend after shampooing it to make sure your hair is locking in moisturizer.
Don't forget to detangle your weave with the conditioner still in it; it will put less strain on your bundles.
After combing through your hair, you can now wash the conditioner out.
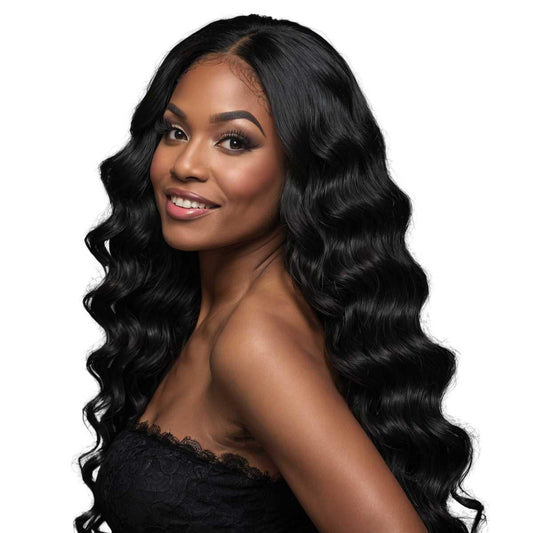
Don't blow dry your bundles let them air dry so they can return to their natural state. If you have curly or wavy hair, you can braid it to the scalp or individually, and when you take it out it will have a pretty wave to it.
Different from, wavy and curly hair straight can just be left out or put in a ponytail until completely dry.
You can style your preference after. Be mindful of what kind of products you put on your bundles you should not need much.
Organix Anti-Breakage Keratin Argan Oil is a very light oil that's great for your natural hair and weaves you can use it to add moisture and shine while styling your hair. This oil can be purchased at your local drug stores also.

How to Wrap Your Hair
How you decide to wrap your scarf is also essential to assure your hair gets the many benefits from it.
One of the processes is to cover the headscarf around your forehead then bring it underneath your hair at the foundation of your neck and tie up the ends of the scarf.
With this process, you need to ensure you don't get any of your hair caught in a knot, that can be difficult because you can't see the back of your neck.
My favorite method is to gather my hair into the scarf at the nape of your neck and tie the ends together at the top of my head so that I can easily see my hair and to make sure I don't tie it in a knot.
It's important to treat your extensions as if they are your natural hair to ensure longevity.
There are a lot of pros when taking care of your hair extensions maintenance before, during, and post your installs.
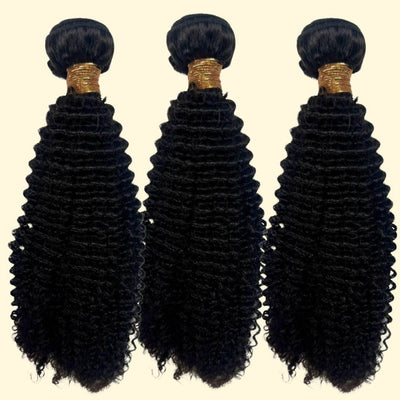
Reusing your hair may be the greatest and most beneficial one so be sure to, save the bundles!
What to Wrap Your Hair with
Although silk bonnet and scarfs can be a bit irritating, we need them to protect our hair and keep it in place at night.
Don't sleep on your hair. Sleeping on your hair can cause tangling, frizziness, and static.
Although scarves come in many materials, for a bedtime headscarf, you should stick to a silk or satin material.
Those will hold your extensions up without pulling away from the moisture.
Most importantly, thanks to these two materials' softness, your hair will glide effortlessly over them and not get caught up in anything.

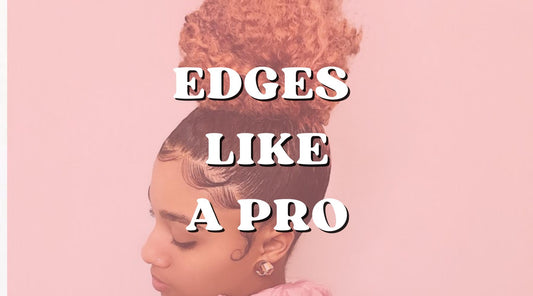
Quick Tips to Make Your Hair Weave Last Longer
What are the best practices for installing hair extensions to ensure they last longer?
Proper installation is key to extending the life of hair extensions. Here are best practices tailored for black women:
-
Gentle Handling: Ensure that the extensions are handled gently during installation to prevent unnecessary stress on the hair. This means avoiding pulling or tugging.
-
Secure Installation: Whether sewing in, clip-in extensions, gluing, or using a wig, make sure the method is secure but not overly tight. Overly tight installations can lead to tension on the scalp and damage both the extensions and your natural hair.
-
Leave Out: For sew-ins or human hair wigs, consider leaving out a small portion of your natural hair to cover the tracks. This not only helps the extensions blend better but also reduces the strain on your natural hair.
-
Scalp Care: Maintain a healthy scalp by cleansing and moisturizing your scalp regularly, even with the extensions in, to promote the health of your natural hair.
- Silk Press: Silk pressing is a natural way to straighten your hair using a blow dryer and a flat iron. It's a temporary technique that can last up to two weeks.
How can black women maintain their hair extensions at night to ensure they last?
Nighttime care is crucial for preserving the life of hair extensions. Here are some tips:
-
Silk or Satin Scarves: Wrap your hair in a silk or satin scarf or sleep on a silk or satin pillowcase. These materials help reduce friction, which can cause tangling and matting of the extensions.
-
Loose Braids or Ponytails: Gently braid or tie your hair in a loose ponytail to prevent tangling. This is especially important for curly or wavy extensions.
- Moisturize and Protect: Apply a light leave-in conditioner or natural oil to keep the extensions moisturized, but be cautious not to use too much product, which can lead to build-up.

What routine maintenance should black women perform on their hair extensions?
Routine maintenance is essential for the longevity of hair extensions.
Here are some maintenance tips:
-
Regular Washing: Cleanse the extensions regularly using a gentle, sulfate-free shampoo. This helps prevent build-up from products and natural oils, which can weigh down the extensions and cause them to look dull.
-
Deep Conditioning: Apply a deep conditioner or hair mask every 2-4 weeks to keep the extensions hydrated and vibrant. Be sure to rinse thoroughly.
-
Detangling: Gently detangle the extensions from the ends to the roots using a wide-tooth comb or a soft bristle brush. Detangling before and after washing can prevent knots and matting.
-
Heat Styling with Care: Use heat protectant sprays and keep the use of hot tools to a minimum. High heat can damage extensions just like natural hair.
- Professional Check-Ups: If possible, visit a hairstylist who specializes in extensions for regular check-ups. They can address any issues like loosening tracks or tangling before they become major problems.
2 comments
This guide is exactly what I needed! It’s clear and covers everything from start to finish. I feel much more confident now about caring for my hair extensions properly. Thanks for the helpful tips!
Could you provide tips on maintaining hair extensions during hot, humid weather?