


1260 Memorial Drive
Atlanta, Georgia 30316
404-458-1330
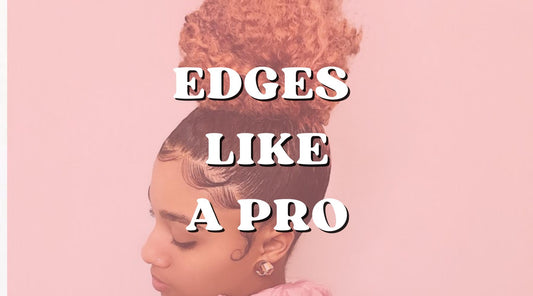
How to Do Edges Like a Pro
Mikey MoranSlaying your edges is a great way to slay your look and gives you more of a polished finish if you’re wearing your hair up.
It also works for the side parts or if you are wearing a lace front wig and you want more definition around your face.

But let’s be real — getting those baby hairs to behave is not always easy.
If you’ve ever struggled with stubborn flyaways or ended up with a flaky mess, don’t worry; we've got you.
Here’s a step-by-step guide to making sure your edges are slayed to the gods!

How to Do Your Edges – For Medium Wavy Hair
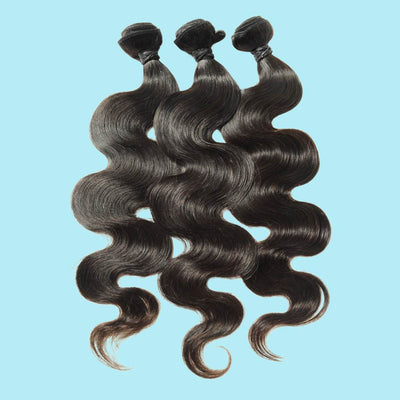
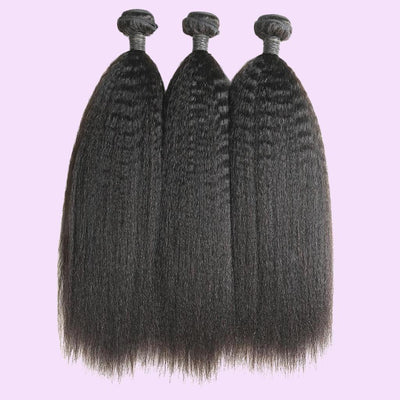
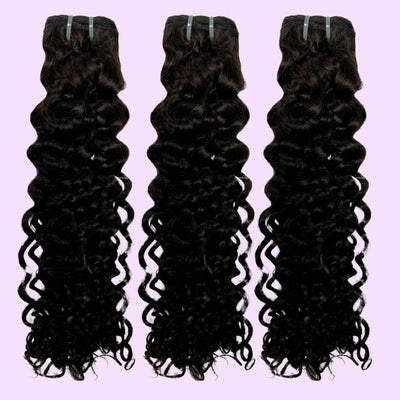
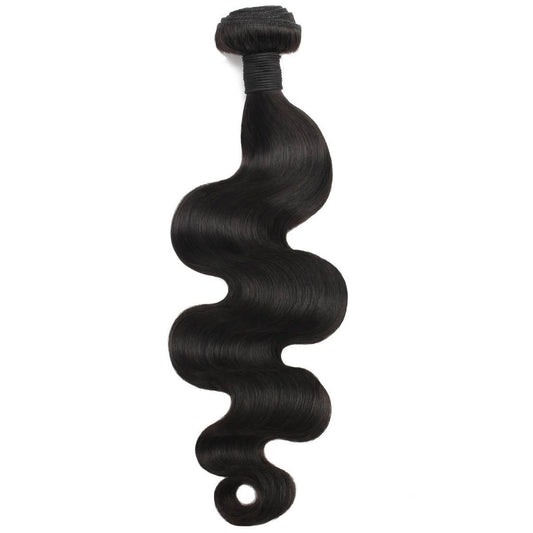
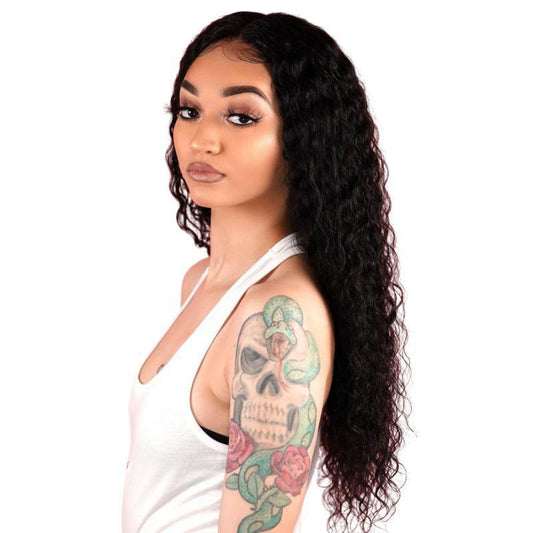
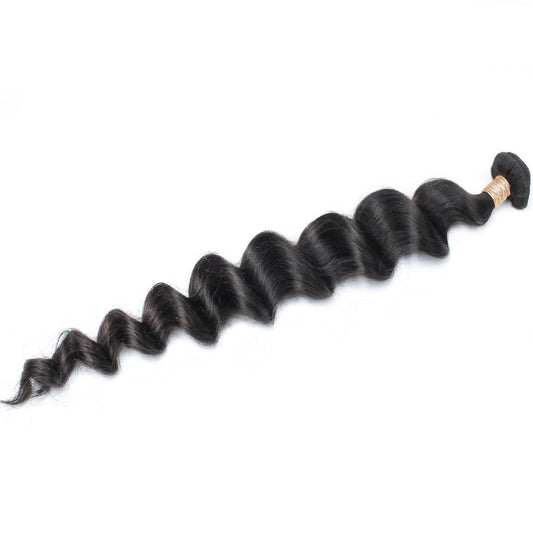
If you have medium wavy natural hair or using Loosy Wave Hair, the right technique and products can help you create soft, defined baby hairs that stay in place all day long.

What you’ll need:
You’ll need a Private Label Edge Brush or a brand-new toothbrush with soft bristles and clear hair gel.
For medium-wavy hair that isn’t too unruly, a medium-hold gel should be enough.
But if your hair is curlier or prone to frizz, opt for a stronger hold gel like Private Label’s Black Edge Control gel to keep your edges in place all day.

Step 1: Start with clean hair
The first step to perfect edges is making sure they’re clean and product-free.
If you’ve been layering edge control all week, chances are there’s a buildup that can make styling harder.
Use a gentle shampoo or simply wipe your edges with a damp cloth to remove any old product.
If your edges feel dry or brittle, apply a small amount of leave-in conditioner before styling to keep them hydrated.

Step 2: Brush baby hairs forward
Using your clean Edge brush, gently brush your baby hairs forward.
You can choose how much hair to pull out; some people prefer thin, wispy edges, while others like thicker, more defined swoops.
The key is to work with your natural hairline and create a shape that complements your style.

Step 3: Apply gel and smooth hair
Dip your Edge brush into a small amount of gel — you don’t need too much product to start.
Work section by section, using the Edge brush to comb the hair forward.
Once you have brushed a section into place, blend the ends back into your hairline.
You’ll also want to use the neck of the Edge brush to press the ends into place as they dry to help set the edges.
Continue this section-by-section process across your entire hairline, adjusting the shape as needed.
If you want a softer, more natural look, that works well with a Bob Wig, keep your sections thin.
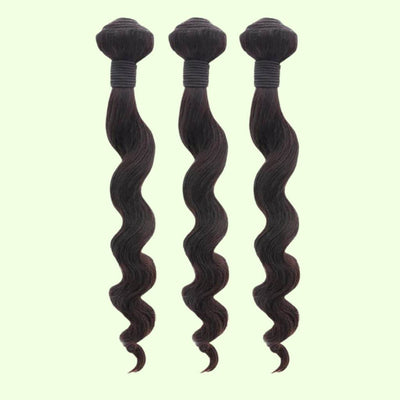
If you prefer a bold, sculpted style, that works well with Braided curly hair styles ,go for thicker sections with more definition.
Step 4: Define the sideburns
For a finishing touch, pay attention to the sideburn area.
If your hair has a looser curl or wave, use the end of a tail comb to gently shape the sideburn hairs into a soft curl.
This creates a delicate, polished effect that frames the face beautifully.
Pro Tip: It’s best to style your edges before applying foundation to avoid getting makeup on your hair.
Once your edges are fully styled, you can lightly wrap them with a silk scarf for a few minutes to help set the style.

How to Do Your Edges - For Course Hair
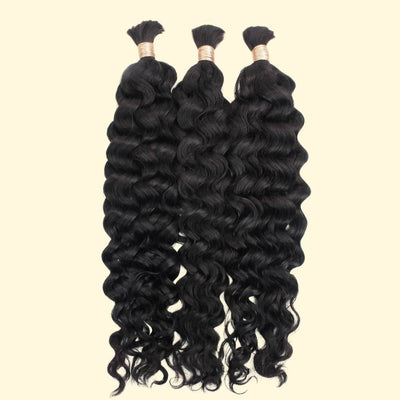
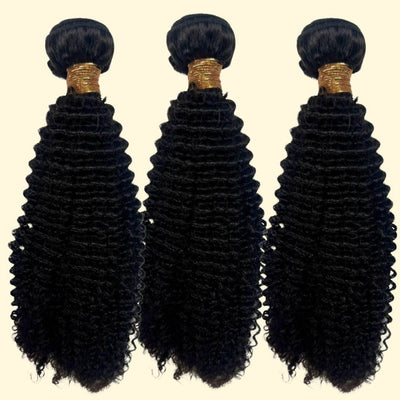
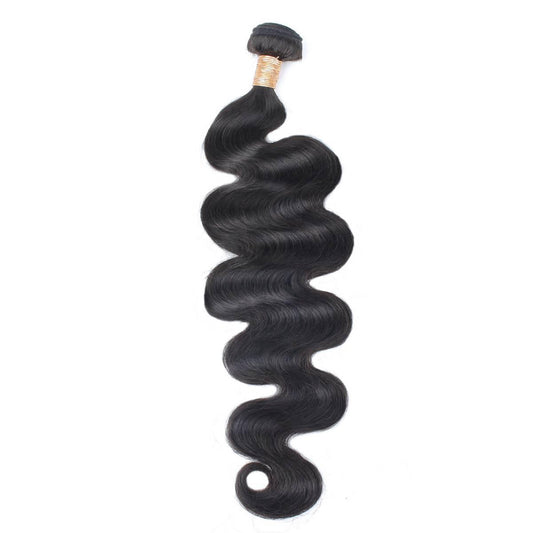
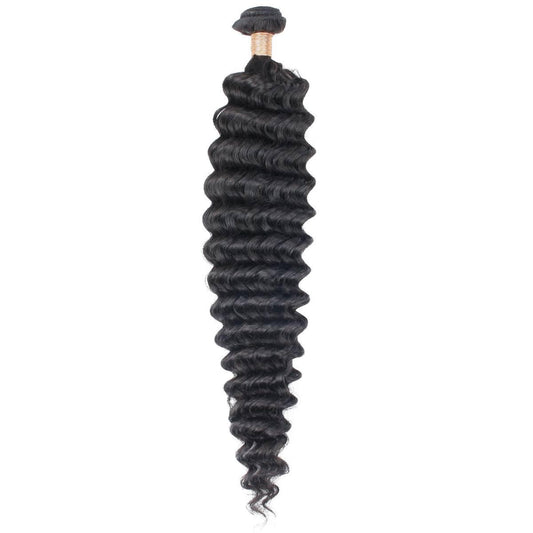
Getting smooth, long-lasting edges on coarse hair or Jerry Curl Hair can take a little extra effort, but with the right technique and products, it is possible to create sleek, defined swoops that stay put all day.
Step 1: Prep your edges
Before applying any product, start by completely combing out your edges to remove any tangles or knots.
You can use a Private Label edge brush or a soft-bristle toothbrush.
Taking the time to detangle now will make the process easier and help your edges lay flat.

Step 2: Apply edge control and style
Dip your brush into your favorite edge control product; a wax stick edge control or a soft-hold gel works best for coarse hair.
Using the swoop method, brush the hair down first, then gently curve it back into your hairline to create a seamless blend.
Work in small sections, take your time with each one, and aim for about three swoops per section to keep it neat and controlled.
The key is to repeat the process until your edges are laid exactly how you want them.
Step 3: Try the water and gel method for extra hold
If your edges refuse to stay put, try this foolproof layering method:
- Dampen your edges with a little water.
- Apply a soft gel or wax-based edge control.
- Spray your edge brush lightly with water and swoop your edges into place.
- Wrap your edges with a satin scarf or elastic band for a few minutes to set everything in place.
Edge Styles to Try
If you’re feeling adventurous, switch up your edge game with some of these trendy styles:
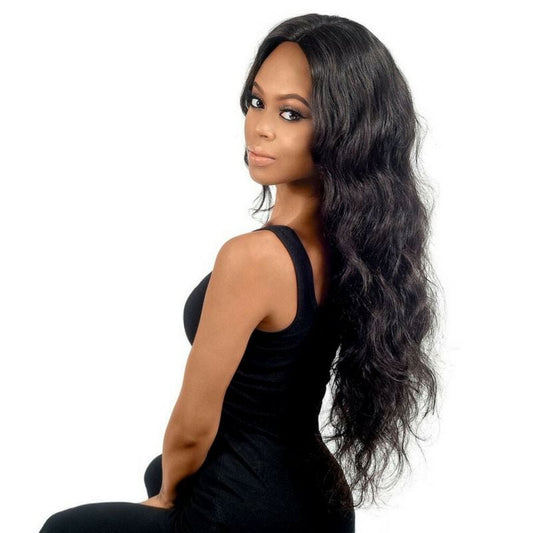
- Classic swoops: This is the go-to style for a polished, everyday look that works great with a silk press hair style.
- Waves and swirls: This one is perfect for a more laid-back vibe.
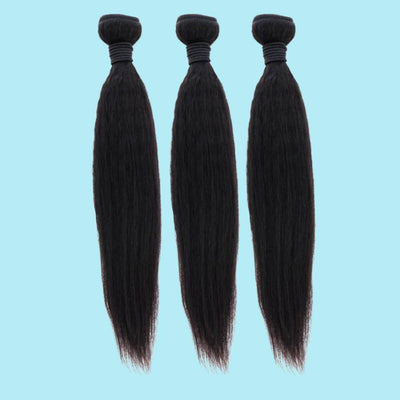
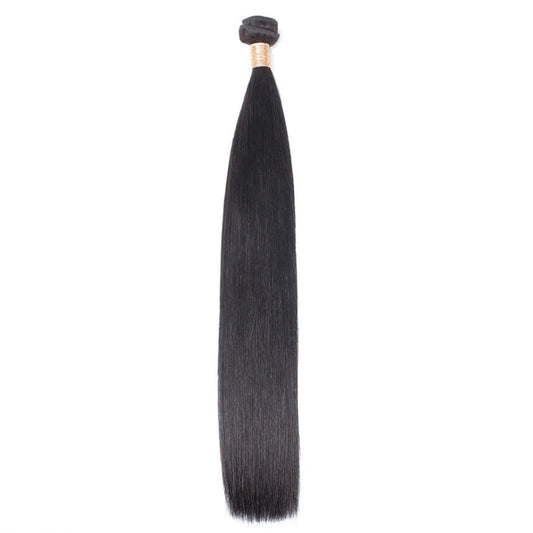
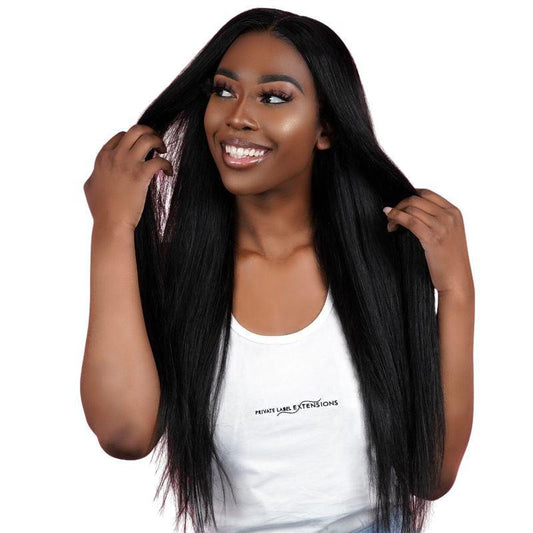
- Heart-shaped edges: Yes, you can literally shape your baby hairs into hearts, and it’s a super cute style that’s perfect for special occasions and works great with Straight hair as well .
- Freestyle swirls: This one is for when you’re ready to take a bold and artistic approach with your style, complete with dramatic loops and swirls.
How to Maintain and Refresh Your Edges
Since strong-hold gels and waxes can cause buildup over time, it’s important to clean your edges regularly to keep them from flaking and to prevent residue buildup.
If you notice white residue forming, you can reactivate the gel by dampening your edges slightly and reshaping them with your edge brush.
One thing to keep in mind: avoid perming your edges.
Overprocessing can cause breakage and weaken your hair over time.
Instead, stick to strong gels and proper wrapping techniques to get the sleek look without the damage.

Slayed to the Gods
Laying your edges like a pro takes a little practice, but once you get the hang of it, you can get every Natural Wig and hair style to the next level.
The key is to keep them clean, use the right products, and be gentle to avoid breakage.