1260 Memorial Drive
Atlanta, Georgia 30316
404-458-1330
Professional Hairstylist Tips: How to Install a Kinky Curly Closure
Mikey MoranYou are sitting in the salon chair watching your favorite hairstylist craft the perfect closure install.
You are thinking, "how are they installing this lace closure and how can I do it?"
Good question! Well today at Private Label we are going to give you some pro tips.
Do you have your pen and paper ready? First let's talk a little bit about these curly closure hair pieces.
Kinky curly closures are one of the excellent products offering fantastic protective styling for hair.
They help maintain natural hair while sporting a phenomenal voluminous look.
Although their installation is complex and may appear discouraging, one can quickly achieve a professional and natural look with the right tools and proper techniques.
The guide below will help you go through the tricky Kinky Curly Closure installation process much more easily.
Continue reading to get yourself a handful of information.

Understanding Kinky Curly Closures
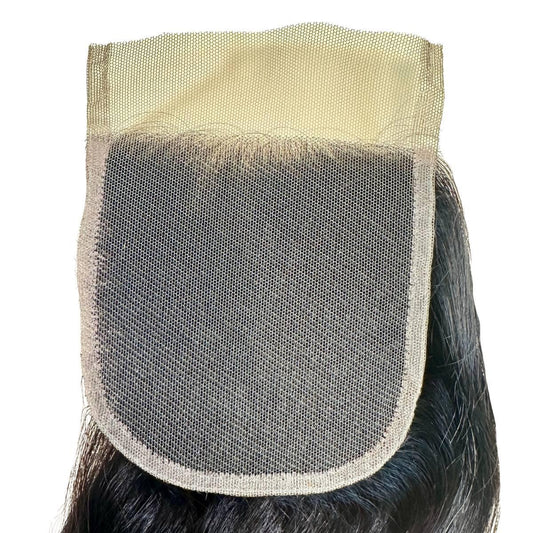
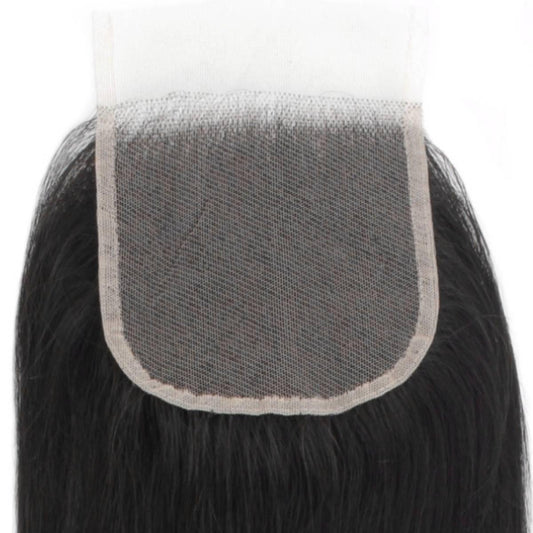
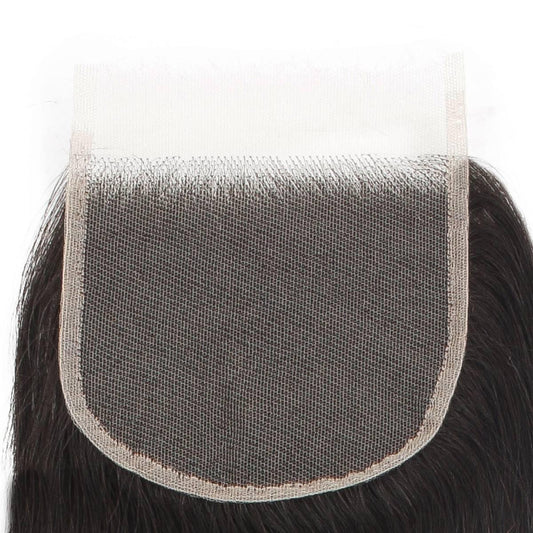
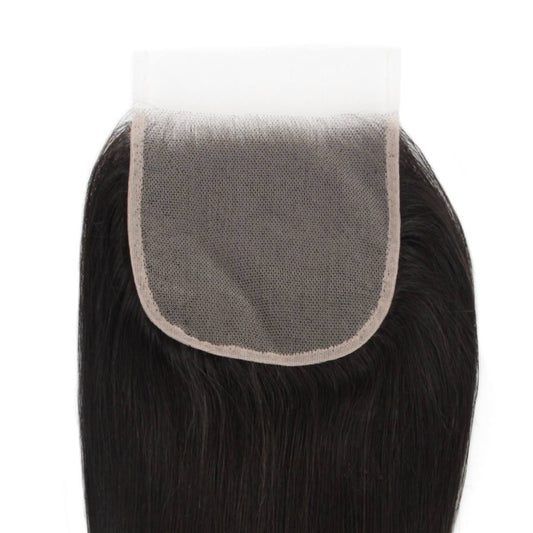
Lace closures are meant to provide a smooth base for the installation of hair extensions.
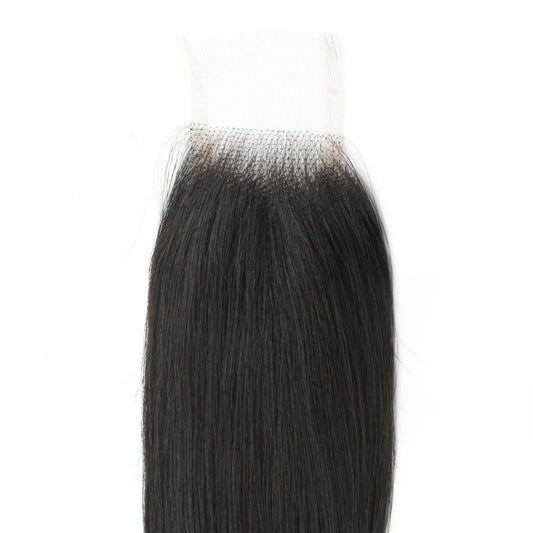
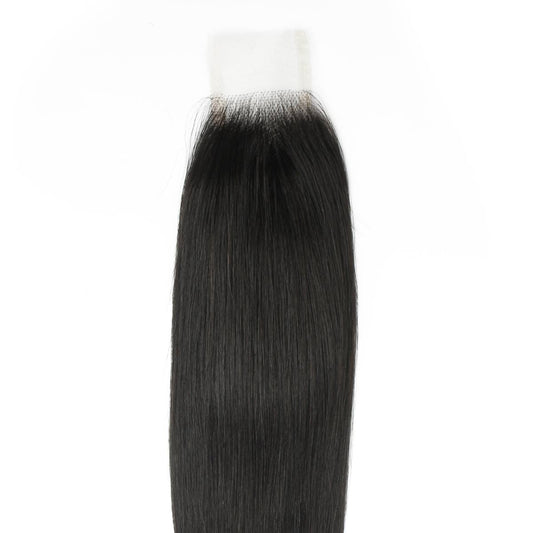
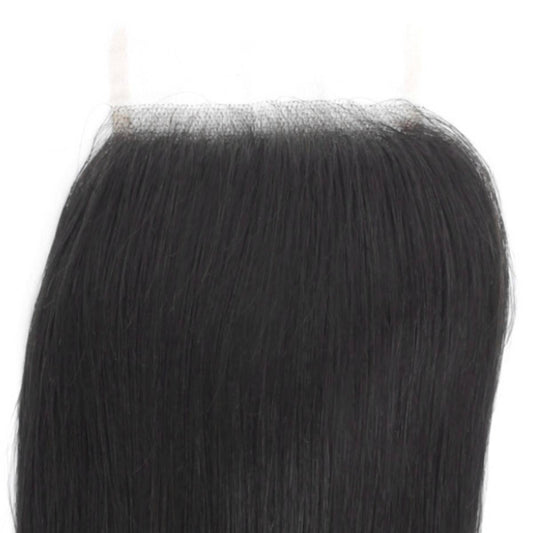
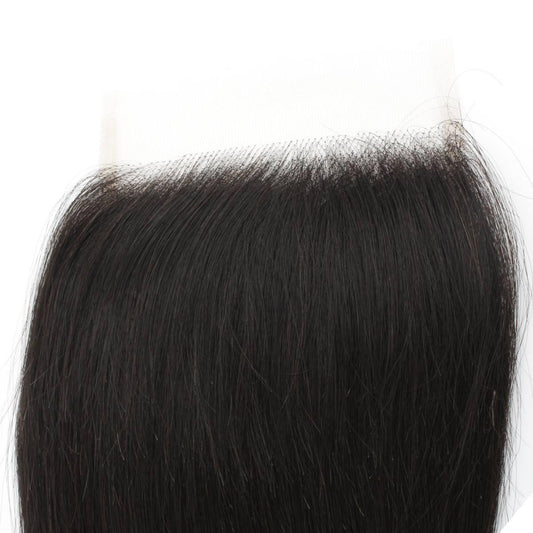
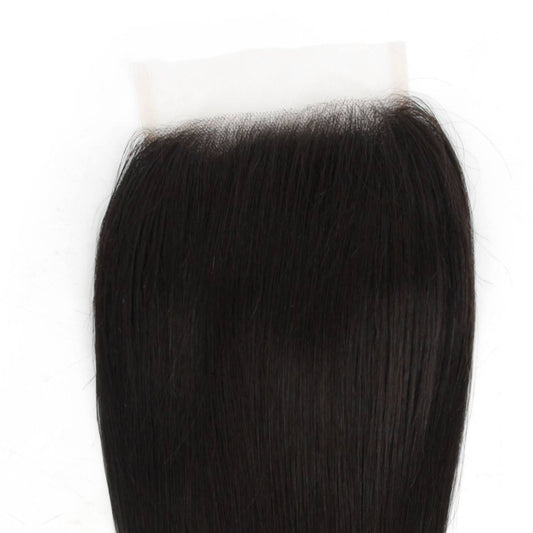
Among the many types, one is a kinky curly closure, which is named due to its tight curl pattern.
Typically made of natural human hair attached to a lace base, these closures give a seamless, natural look, adding volume to the natural hair. However, a perfectly natural look requires seamless closure installation, a stepwise process.
Installation of Kinky Curly Closure
Tools Required
The main tools required for the installation of kinky curly closures are:
- Kinky Curly Closure
- Needle and Thread
- Hair Extensions
- Wig Cap
- Hair Clips
- Scissors
- Rattail Comb
- Styling Gel
- Edge Control
- Blow Dryer
- Tweezers
- Bleaching Kit

Preparation of Natural Hair
To achieve a seamless and smooth base for closure installation, natural hair must be prepared to cover them perfectly and protect them from potential damage.
This process includes:
- The first step is cleaning and detangling the hair. Wash and condition the hair deeply with mild products.
- Dry the hair properly. Installing the closure over a clean scalp free of any product buildup increases the closure's life.
- Braid the hair into cornrows. This will create a flat base over the scalp, essential for attaining a natural look with closure.
- Secure the cornrows with hair pins.
- Now, place a wig cap over the braids, creating a stable base for closure. Secure the cap and ensure that it is not too tight.
- Wig caps help protect natural hair and support the closure and extensions.

Installation of Kinky Curly Closure
The stepwise procedure of kinky curly closure installation is given below:
- Bleach the closure knots of closure before installation to enhance their natural look. For this purpose, a mixture of bleaching powder and developer is applied to the knots for 20-30 minutes.
- Rinse thoroughly with water and then apply conditioner.
- After bleaching, pluck hair from the closure hairline using tweezers to match its density with natural hair. The closure is now ready to be installed.
- Position the closure on the head, aligning it with the natural hairline.
- Secure it temporarily with hair clips. Make sure that the closure wig and braids are entirely covered.
- Now, sew the closure using thread that matches the color of the closure. Sew around the closure perimeter, ensuring the lace doesn't tear.
- The closure must not be too tight, which causes discomfort.
- After sewing is completed, tie a strong knot and cut off extra thread.
- Then, check that the closure is securely placed over the scalp.
Adding Hair Extensions
The next and most important step is adding extensions over the closure. If you have installed the closure seamlessly, two-thirds of your target has been achieved. The steps are given below:
- Start adding the hair extensions from the back of the scalp, working your way up to the closure. Extensions are also sewn onto wig caps in the same way as closures.
- For a voluminous look, sew the tracks close to each other. After sewing is completed, blend the closure with the hair.
- Part the hair with a rattail comb and apply styling gel to define the curls for the desired style.
Final Touches
Final touches help to achieve a more natural look with kinky curly closures. These include:
- Lay down the baby's hair using edge control for a seamless transition from closure to natural hair.
- Cut the extra lace from the closure carefully. One can trim the hair extensions according to their desired style.
- Take care of the curl pattern while trimming.
- Now, using a blow dryer or a curling iron, you can enhance the curl pattern and set the hair according to the desired style.

Care Tips for Different Sizes of Kinky Curly Closures
Kinky curly closures offer size versatility ranging from 2x6 inches to 5x5 inches. This size variety can easily be found at Private Labels Extensions. Each size has its specific care requirements.
Let's delve into the details of care for specific standard sizes:
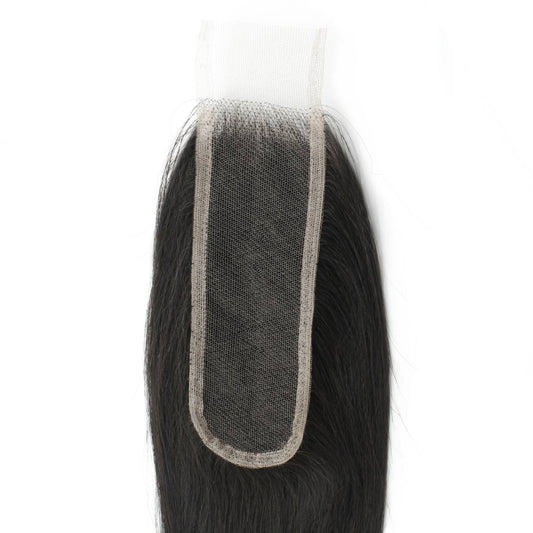
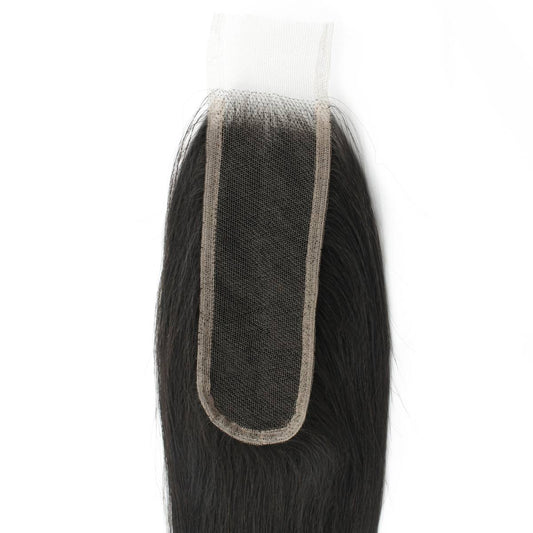
2x6 Kinky Curly Closure
A 2x6 closure refers to 2 inches in width and 6 inches in length. Detangle this 2x6 Kinky Curly Closure with a wide-tooth comb for longevity and a natural look. Use a leave-in conditioner and natural oils for moisturizing.
Minimize the heat styling to reduce damage risks. Secure them properly, as they are prone to shifting due to their narrow dimensions.
4x4 Kinky Curly Closure
4x4 lace closure is a square closure that provides perfect coverage and styling versatility. The 4x4 Kinky Curly Closure requires deep conditioning for curl pattern maintenance. The scalp should be cleaned regularly to avoid product buildup.
For perfect blending, lay down the edges using an edge control, preferably from Private Label Extensions.
5x5 Kinky Curly Closure
Owing to its large size, a 5x5 closure is the perfect choice for a full and voluminous look. Wash the closure with sulfate-free products.
While sleeping, opt for protective kinky curly closure styling like braiding to avoid hair tangling.
Avoid using heavy products, as they can disrupt the curly nature of the 5x5 Kinky Curly HD Closure. Do not brush the closures excessively, as they are more prone to shedding due to their larger size.

General Care Tips
Here are more tips for all types of kinky curly closures, regardless of size.
- Cover the hair with a soft material like silk or satin while sleeping. This will reduce friction and tangling.
- Limit the styling primarily to heatless techniques, thus preserving the curl pattern and weave shedding.
- Use heat protectant spray before heat styling.
- Keep the hair moisturized and hydrated using lightweight, water-based products.

Installing Kinky Curly Closure
Although installing a kinky curly closure might appear difficult, you can create a polished and natural look with the appropriate patience and methods.
By adhering to the above comprehensive instructions and maintenance advice, you can guarantee a flawless installation and preserve your closure for a stunning, long-lasting look.
Whether you're an experienced stylist or a do-it-yourselfer, by following the above tutorial, you can get a stylish and sophisticated look with kinky curly closures flawlessly.
Got any Kinky Curly Closures Questions? Ask Us!

