1260 Memorial Drive
Atlanta, Georgia 30316
404-458-1330
Hair Bundles Blog | Tips, Trends, and Tutorials

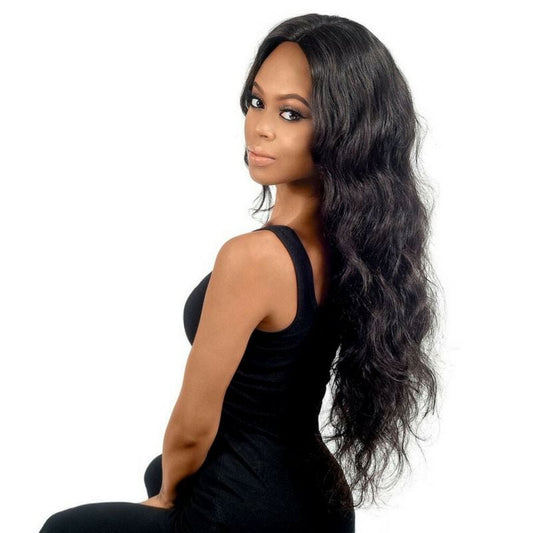
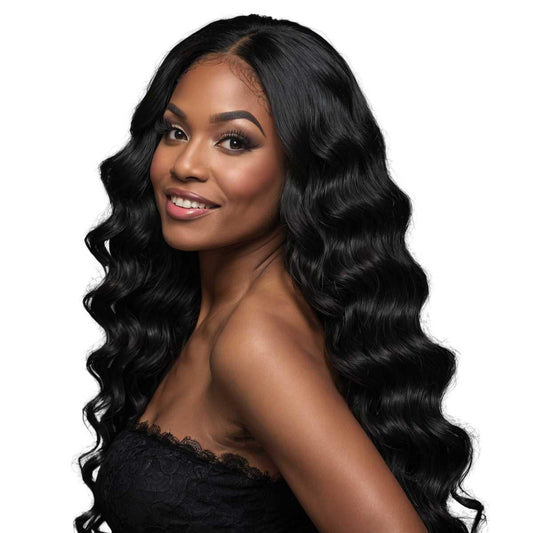
What Is Water Wave Hair and How to Style It?
Creating a look that the whole block sits up and takes notice of is what we’re all about here at Private Label. What better time to do it than right...
What Is Water Wave Hair and How to Style It?
Creating a look that the whole block sits up and takes notice of is what we’re all about here at Private Label. What better time to do it than right...

How Much Do Hair Extensions Cost and How to Get...
Hair extensions are a great way to give your hair instant length, fullness, or a pop of color. But how much should you expect to pay for the perfect Hair...
How Much Do Hair Extensions Cost and How to Get...
Hair extensions are a great way to give your hair instant length, fullness, or a pop of color. But how much should you expect to pay for the perfect Hair...
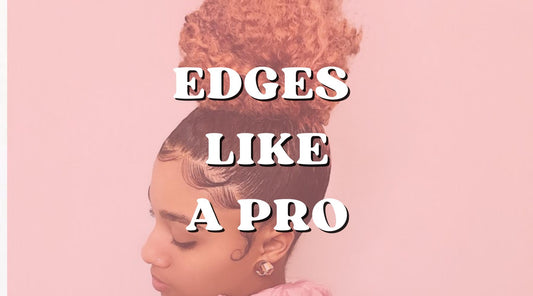
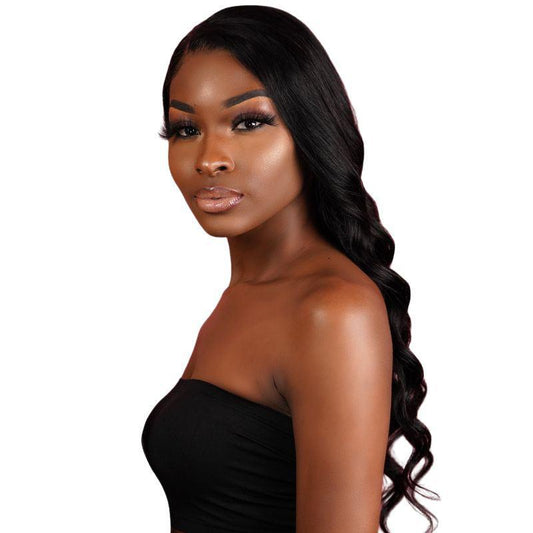
How to Do Edges Like a Pro
Slaying your edges is a great way to slay your look and gives you more of a polished finish if you’re wearing your hair up. It also works for the...
How to Do Edges Like a Pro
Slaying your edges is a great way to slay your look and gives you more of a polished finish if you’re wearing your hair up. It also works for the...
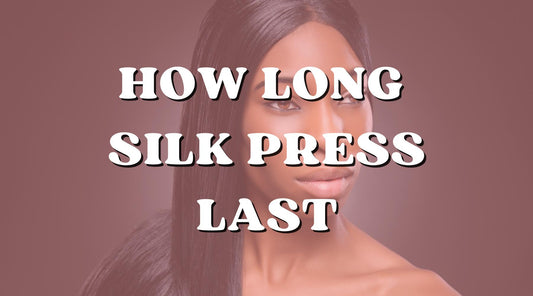
For How Long Does a Silk Press Last?
If you’ve ever gotten a silk press, you know the inevitable question that comes with it: How long is this sleek magic going to last? The short answer:A silk press...
For How Long Does a Silk Press Last?
If you’ve ever gotten a silk press, you know the inevitable question that comes with it: How long is this sleek magic going to last? The short answer:A silk press...
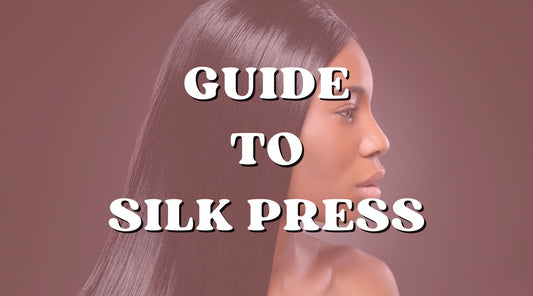
How to Do a Silk Press: Step-by-Step Guide
If you're dreaming of achieving that silky-straight look that will put the whole block on notice, mastering the art of the silk press is the way to go. This timeless,...
How to Do a Silk Press: Step-by-Step Guide
If you're dreaming of achieving that silky-straight look that will put the whole block on notice, mastering the art of the silk press is the way to go. This timeless,...
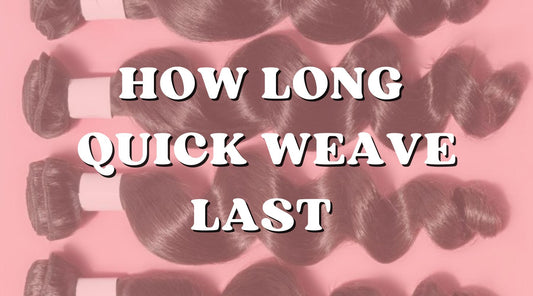
For How Long Does a Quick Weave Last?
When you come to the experts here at Private Label, you'll never have to go anywhere else for help and advice. The good news is that we can tell you...
For How Long Does a Quick Weave Last?
When you come to the experts here at Private Label, you'll never have to go anywhere else for help and advice. The good news is that we can tell you...
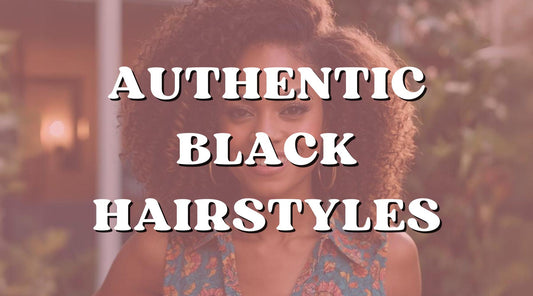
The Most Authentic Black Hairstyles for African...
Hair has always been an essential part of identity and self-expression, especially for African American women. From the way it's styled to its natural texture, hair carries deep cultural meaning....
The Most Authentic Black Hairstyles for African...
Hair has always been an essential part of identity and self-expression, especially for African American women. From the way it's styled to its natural texture, hair carries deep cultural meaning....
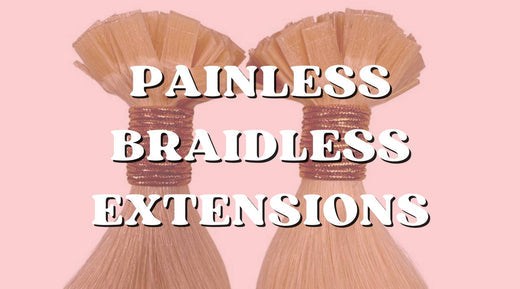
Painless Type of Hair Enhancement: Braidless Ex...
Remove that tedious braiding stage and still achieve a flawless installation with this new technique. Another way to rock your beautiful hair extensions is becoming more popular in the hair...
Painless Type of Hair Enhancement: Braidless Ex...
Remove that tedious braiding stage and still achieve a flawless installation with this new technique. Another way to rock your beautiful hair extensions is becoming more popular in the hair...
The Ultimate Guide to Maintaining Moisture in Y...
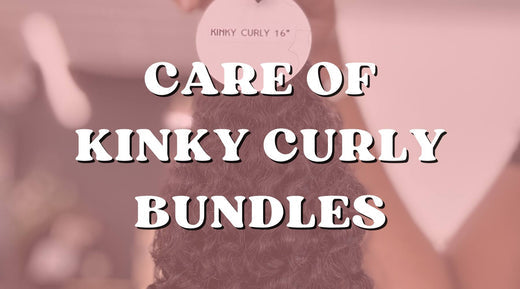
In hair math, moisturizing equals healthy, long-lasting, and vibrant Kinky curls. For the excellent investment you’ve made by purchasing your Kinky Curly Hair Bundles, you need the labor of love...
The Ultimate Guide to Maintaining Moisture in Y...
In hair math, moisturizing equals healthy, long-lasting, and vibrant Kinky curls. For the excellent investment you’ve made by purchasing your Kinky Curly Hair Bundles, you need the labor of love...
Let’s Talk About our New Fusion Hair Extensions!
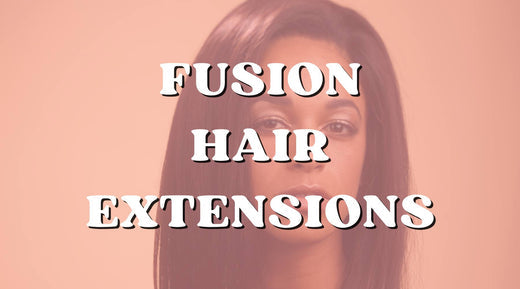
As always Private Label Extensions continues to reach new heights with hair products you’ll be sure to love! Our new fusion hair extensions are no exception and are sure to...
Let’s Talk About our New Fusion Hair Extensions!
As always Private Label Extensions continues to reach new heights with hair products you’ll be sure to love! Our new fusion hair extensions are no exception and are sure to...
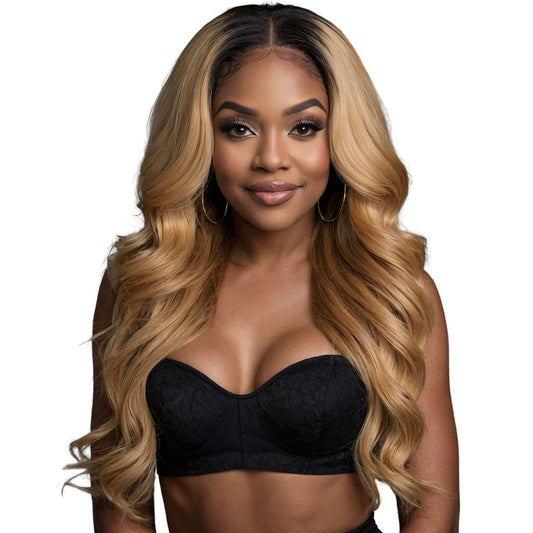
Everything You Need to Know About 27 Color Hair
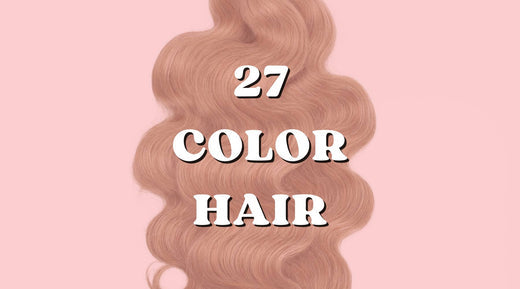
If honey blonde hair has been on your radar, you’re already halfway there — because 27 color hair is the golden glow-up you didn’t know you needed. It’s rich, warm,...
Everything You Need to Know About 27 Color Hair
If honey blonde hair has been on your radar, you’re already halfway there — because 27 color hair is the golden glow-up you didn’t know you needed. It’s rich, warm,...
6 Mistakes to Avoid with Straight Hair Bundles
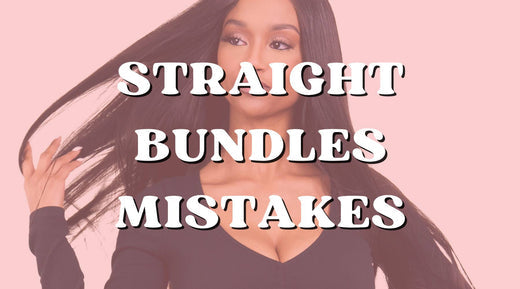
Straight Hair Bundles are an excellent addition to your beauty routine, offering flexibility in styling and a smooth, refined appearance. However, taking care of them requires attention to detail and...
6 Mistakes to Avoid with Straight Hair Bundles
Straight Hair Bundles are an excellent addition to your beauty routine, offering flexibility in styling and a smooth, refined appearance. However, taking care of them requires attention to detail and...
Shop Human Hair Bundles
Since 2014, Private Label has supplied over 100,000 customers with the best priced human hair bundles.
-
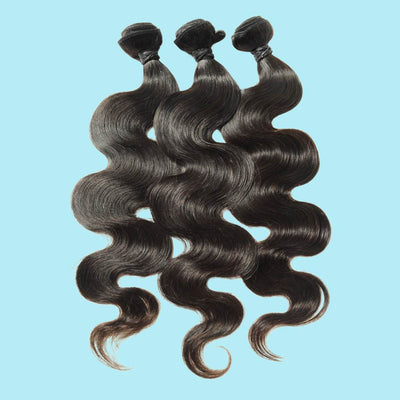
Malaysian Body Wave 100% Human Hair Bundles
4.7 / 5.0
(121) 121 total reviews
Regular price From $29.00Regular priceUnit price / per -
HOT SELLER!
Brazilian Body Wave 100% Human Hair Bundles
4.8 / 5.0
(179) 179 total reviews
Regular price From $36.00Regular priceUnit price / per -
Jet Black Body Wave 100% Human Hair Bundles
5.0 / 5.0
(1) 1 total reviews
Regular price From $55.00Regular priceUnit price / per -
Honey Blonde Body Wave 100% Human Hair Bundles
Regular price From $55.00Regular priceUnit price / per -
Burgundy Body Wave 100% Human Hair Bundles
5.0 / 5.0
(1) 1 total reviews
Regular price From $55.00Regular priceUnit price / per -
Blonde Body Wave 100% Human Hair Bundles
4.8 / 5.0
(53) 53 total reviews
Regular price From $48.00Regular priceUnit price / per -
Medium Brown Body Wave 100% Human Hair Bundles
Regular price From $55.00Regular priceUnit price / per -
Raw Brazilian Body Wave 100% Human Hair Bundles
4.6 / 5.0
(29) 29 total reviews
Regular price From $49.00Regular priceUnit price / per -
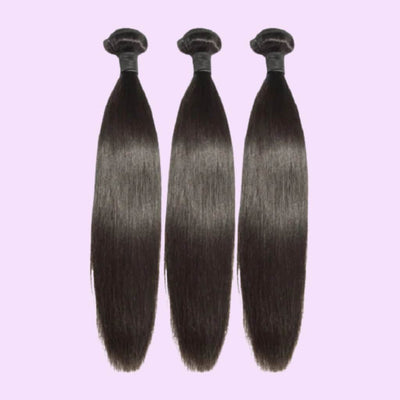
Malaysian Straight 100% Human Hair Bundles
4.7 / 5.0
(70) 70 total reviews
Regular price From $29.00Regular priceUnit price / per -
Brazilian Straight 100% Human Hair Bundles
4.7 / 5.0
(118) 118 total reviews
Regular price From $36.00Regular priceUnit price / per

