1260 Memorial Drive
Atlanta, Georgia 30316
404-458-1330
DIY Closure Wig Inspired By Kahlana Barfield
Mikey MoranLet's be honest, a new wig can change your life!
Wigs are my thing when it comes to protective styles.
I mean, who doesn’t love the ease and effortlessness when it comes to styling your hair?
However, I realized the high prices for wigs, whether they were closure wigs or frontal wigs, were not my thing at all. Therefore, I decided to take on the task and make a wig.
Why not?
I am a visual learner, so it became more natural for me once I purchased the proper tools to create my wigs and intensely watched and learn virtually with the help of YouTube.
The idea of saving money and putting my creativity to the test helped me stay determined in constructing my wigs.
Soon after, I began uploaded brief clips on my Instastory through Instagram to show my followers my efforts of constructing wigs, which then became an extra stream of income.
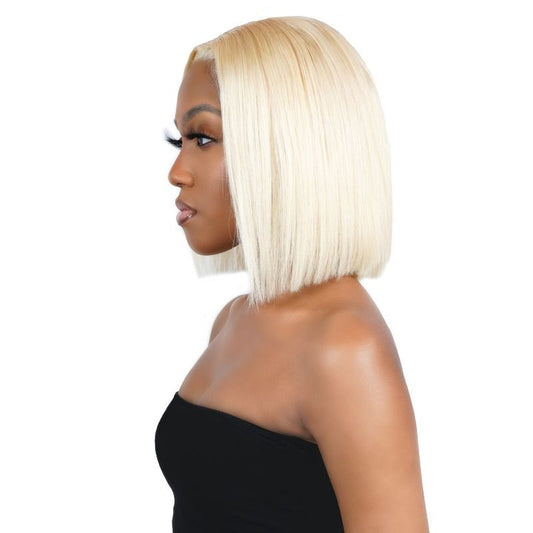
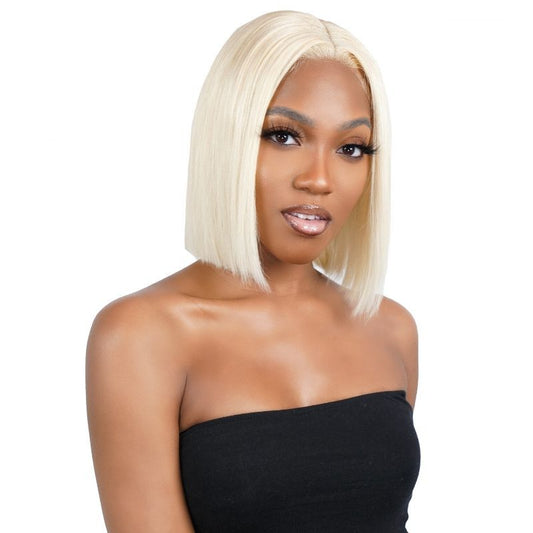
I recently had the opportunity of creating a wig inspired by the oh so fashionable Kahlana Barfield, the editor of InStyle Magazine.
Kahlana rocks the blunt cut bob with sexy, wild beach waves making her look one of a kind.
I’d like to share with you my experience and a few details and pointers of how I created this look.

Closure vs. Frontal
First, I think it’s important to understand the difference between closure and frontal.
Both pieces are great for full coverage protection of your natural hair providing an authentic look to wearing a wig.
A lace closure offers as much protection as a frontal but is a bit limiting when it comes to how you want to switch up your look.
The lace on a closure offers a smaller span of coverage allowing you to have only one type of part whether it is in the middle or on the side.
A lace frontal, however, provides endless flexibility in styling as it offers a full span of coverage across the front portion of the head giving a false looking scalp.
Personally, frontals are my favorite when you can style your look with no limits.
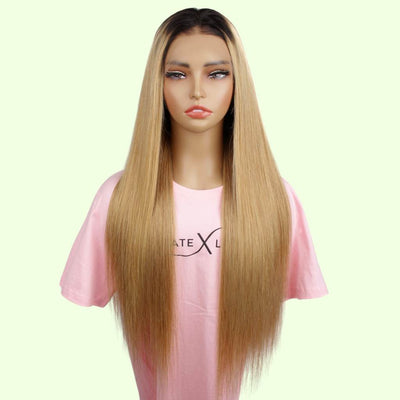
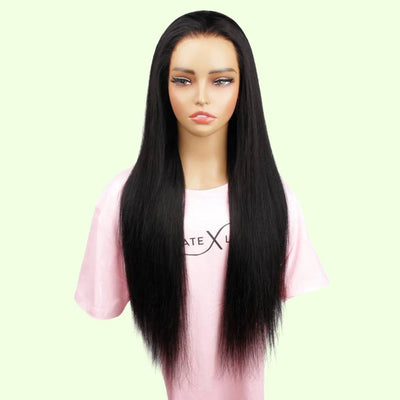
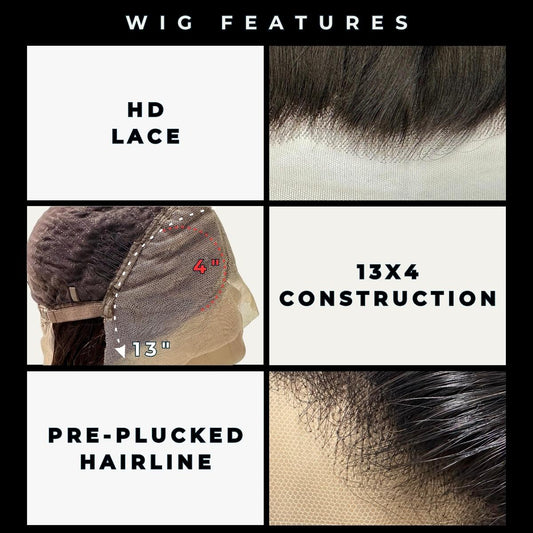
There are so many options when choosing between a closure and frontal. A 2x6 lace closure offers a deep part with a limited amount of lace management. Going to the opposite side of the spectrum is the 7x7 lace closure that offers maximum parting space and almost a frontal coverage in the front of your hairstyle.
I do recommend for beginners to wear wigs that are closures until you get comfortable with versatile styling.

Constructing Your Closure Wig 101
Be sure you equip yourself with the proper tools to execute the job. It isn’t just about executing the construction of your wig but executing it well.
The most important item needed when constructing your wig is your bundles of hair and wig cap.
Now you may ask, how much bundles of hair are required when it comes to creating your wig.
I believe that depends on what look you are going for and your personal preference. For this inspired look, we’re going short, so excessive bundles are unnecessary.
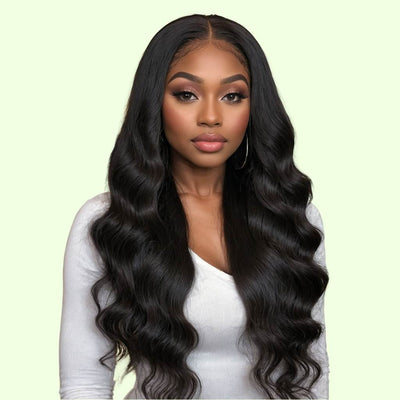
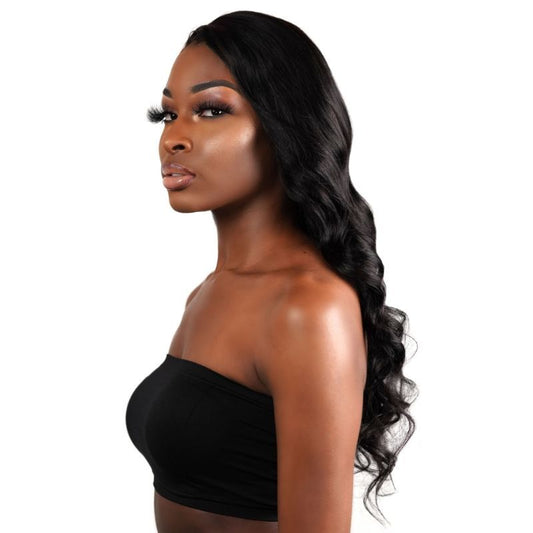
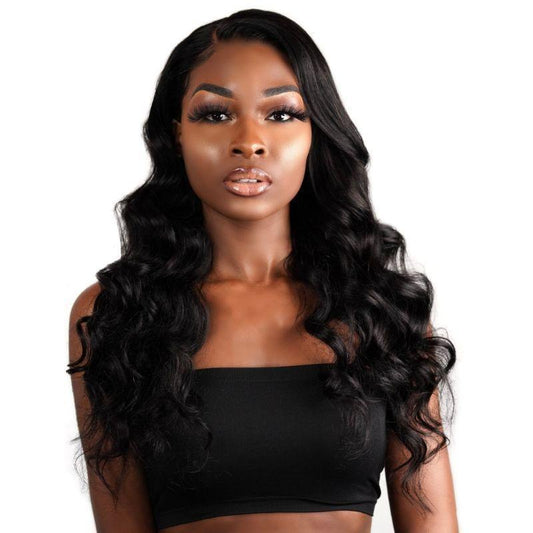
I used one HD body wave closure and two Brazilian body wave bundles for this look.
If you are interested in having a full look for your bob, two bundles work perfectly for your fullness because your fullness will depend on your styling method and again, for this inspired look we’re doing a style of wild beach wave curls.
If you are considering another look of long flowing hair, you can consider up to three bundles. Measurements of the head are essential in making this decision as well.
Using A Wig Cap
Wig caps are an important factor when it comes to the design of your wig and protection of your natural hair.
For the wig cap, I used one of the mesh material. Mesh wig caps are by far my favorite because they allow your scalp to breathe during long durations of wear.
Mesh wig caps are great when it comes to maintaining your wig’s durability after a few shampoos and helps with drying and preventing any lingering odors.
Besides the right amount of bundles and the proper wig cap to use, make sure you have a curved needle and thread for installing the bundles of hair on the wig cap.
Additional materials needed are a hair clip or two to hold various pieces of hair in places as you construct your wig, multiple-pins which are a big help to keep your bundles and closure for proper placement and sewing.
Lastly, a pair of tweezers to design your part of the wig's scalp for a natural look.
Another tip depending on the sizing and measurements of your head is the addition of wig clips.
Wig clips are an important key when it comes to the stability of your wig and having it correctly placed on your head without shifting while you wear it.

Proper Wig Sewing Method
Everyone is different when it comes to how they decide to actually construct their wigs.
As for me, when it comes to sewing, I’ve learned to love the pull-through, or some consider the loop and pull sewing method.
This method provides better stability by sewing the needle through the wig cap material, and as you pull the needle and thread through the initial entry created, you loop the longer piece of thread to pull the needle through that loop.
I feel that simply pulling the needle and thread through the wig cap and continuing the same method does not provide enough stability to lock the track of hair in place.
Properly placing the tracks according to the width of the wig cap and making sure to cut the tracks is important.
Before you began stitching, make sure to measure and align your tracks.

Slaying The “Kahlana” Way
My client styles her fashion effortlessly and in a bold way just like Kahlana, who is very different in style and wardrobe, so it was the perfect fit for her to rock this look.
We decided to add some volume by styling the wig with some free beach wave curls achieved with a smaller wand.
I did a freestyle cut for this wig with no certain precision yet you still get the blunt cut feel.
The ability to construct wigs my way has allowed me to progress in my craft and creativity and help other women to obtain the look they desire and what affordably inspires them.
I look forward to creating more looks inspired by stylish trendsetters in the fashion and beauty world and sharing how I achieved the looks with you.
Stay tuned!















2 comments
Wow, this DIY closure wig inspired by Kahlana Barfield is truly inspiring! It’s impressive how you’ve mastered the art of wig making and created such a fashionable and versatile look. The detailed steps and tips you’ve shared make it seem more achievable for beginners like me.
Wow, your DIY closure wig inspired by Kahlana Barfield turned out so beautifully! Do you have any tips for beginners who want to try making their own wig?