1260 Memorial Drive
Atlanta, Georgia 30316
404-458-1330
How to Style Your Bob Wig Like a Pro: Step-by-Step Tutorial!
Mikey MoranEvery girl probably has a Bob Wig in her wig collection.
If you’re one of those girls, you may find that over time, your Bob wig is no longer Bobbing or you just washed out your Bob wig, so it’s not giving what it’s supposed to give.
So fear not, because styling your human hair bob wig to be perfect again is so simple with the right products, tools, and patience.
Let’s go through the steps together.

Step 1: Prepping Your Bob Wig
Detangle and Clean
If your hair needs to be washed before styling, now is the time. For this process, only a shampoo will suffice.
Lather your warm water with a sulfate-free shampoo, wash your hair gently to remove any build-up of hair products, and rinse until you see the watercolor doesn’t look funny.
Next, apply shampoo throughout your wig and let it sit for a little while before rinsing it off with cold water.
Allow it to air dry. After this step, you’ll see nothing to detangle because your hair will be smooth. It may look wild, so you comb it with your wide-tooth comb. I don’t like using a wig brush because it tugs on the hair strands and may cause it to come on loose.

Step 2: Choose Your Tools
Now, you need to gather all your tools in one place.
You’ll need:
- A Wig Stand or Mannequin Head
- Tail Comb
- Hair Clips
- Flat Iron (Straightener) or Curling Iron
- Heat Protectant Spray
- Argon Oil or (any other styling serums you prefer)
Step 3: Straight and Sleek
Now, let’s get down to business.
Heat protection
You want to place your wig on the wig stand or mannequin head and apply the Argon oil or your preferred serum.
This will give your hair moisture and ensure it follows your straightener’s instructions.
Then, use your heat protectant to keep heat damage at bay, as this technique requires a lot of heat.
Section the Hair
Next, using hair clips, you want to section your Bob wig into manageable parts.
This simplifies the styling process and ensures you get all the strands. Set your flat iron to a low to medium heat setting.
Start from the back with the first weft of hair to get a flawless and even look.
Now, instead of using your straightener/flat comb and typically dragging it from the beginning of the weft to the end in a straight motion, you drag your straightener in a curved motion as you approach the end of the weft; this is what is going to give you that Bob look.
You can repeat this process over and over until you achieve that perfect inward curve. As you progress, weft by weft, you’ll see that the result is better than working with a large segment, especially if your straightener can’t get too hot.

Styling Bob Wigs
The next step to styling your Bob Wig is to pause and admire the lush, silky strands of hair that you’ve styled into a perfect Bob, give yourself a pat on the back, and continue to the upper part of your wig by reapplying the argon oil serum for moisture and heat protectant.
Don’t forget to take it weft by weft to achieve the sleekest Bob. I like combing each section out because using the flat iron makes it smoother.
Now, when you get to the closure part of the human hair wig, you can use hair wax to give it that very flat finish, and this is where the curly wand comes in.
After applying the hair wax to the closure and flat ironing it into a Bob, you want to use that wand to press it down nicely.
Securing The Look
Something that happens with Bob Wigs over is that one part is a little longer than the other.
To attain a finished look, use a clipper to cut out the little strands of uneven hair.
As you style your hair weft by weft, look for parts that are loosening out or getting weak so that you can secure them in because things like that cause your hair to be uneven in the first place.
Once the entire wig is straightened, apply a small amount of serum to your hands and gently run them through the hair. This adds shine and tames any flyaways.
Step 4: Curly Bob
I know most of us like a bit of razzle-dazzle, and the conventional Straight Black Bob Wigs may not do it for you.
If you want to achieve a Kinky Curly Bob Wig style, using a curling iron, follow the previous steps to reach your straight Bob, or when you have it already Bobbed, start by taking small sections of hair and wrapping them around the barrel, holding for a few seconds before releasing, for natural-looking waves, alternate the direction of each curl. Still, the catch here is leaving the ends out.
Once all the hair is curled, let it cool for a few minutes. Then, gently run your fingers or a wide-tooth comb through the curls to loosen them up. This gives you that effortlessly tousled look.
Finish off with a light-hold hairspray to keep the waves intact without making them stiff. If you want extra texture, a sea salt spray works wonders.

Step 5: Bob Wigs With Bangs
Adding bangs can transform your bob wig look. It adds a touch of edge and frames your face beautifully. Here’s how to style it: If your wig has bangs, start by blow-drying them.
Use a round brush to add volume and shape. Blow dry them downwards and slightly to the side for a natural look.
Depending on your preference, you can keep the rest of the hair straight or wavy.
Follow the steps mentioned earlier for straightening or curling. Once the bangs are dry, you can refine their shape with a flat iron.
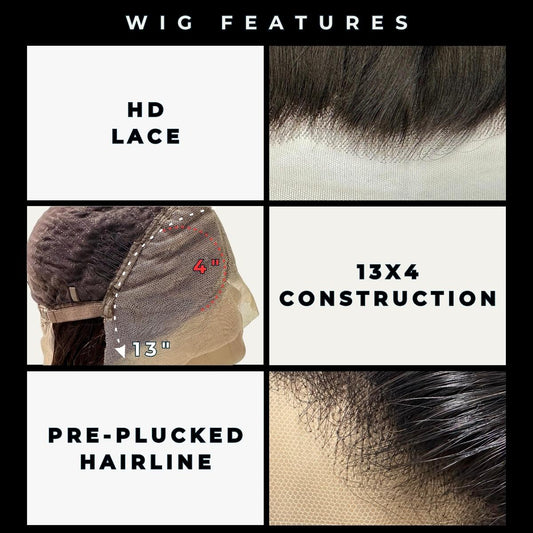
Run the flat iron quickly over the bangs, curving them slightly at the ends. This helps them blend seamlessly with the rest of the hair. If your wig doesn’t have a lace front, use a bit of concealer along the hairline to blend it with your skin.
This creates a seamless transition between your wig and your forehead. Don’t look too far if you’re wondering where to buy the best Bob wigs.
And if you're into bangs get our Straight Bang Bob Wig now!
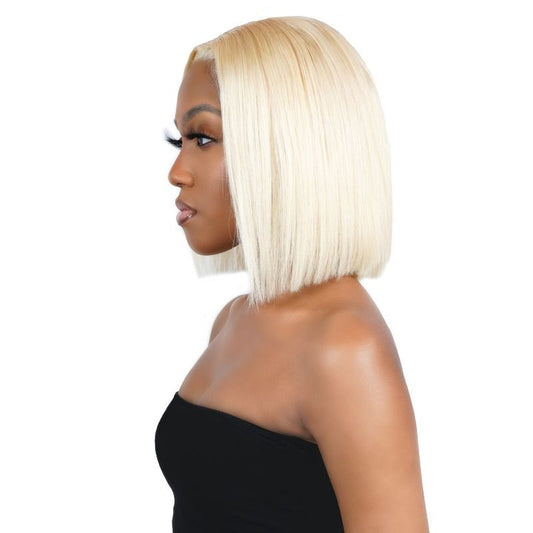
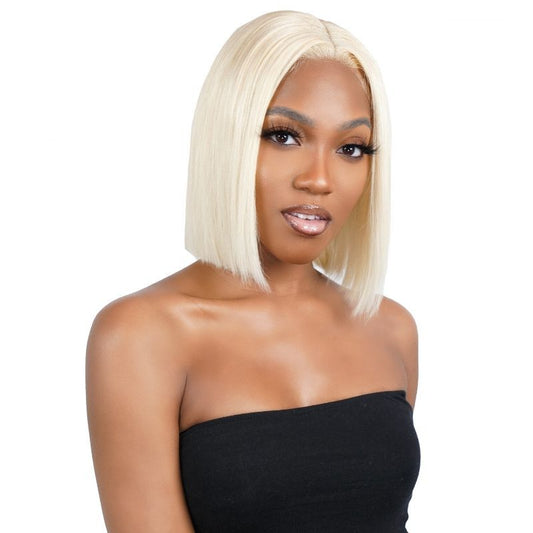
At Private Label, we offer the most affordable Bob wigs made with 100% human hair, in both closure and frontal, with lengths from 10” to 14” With these steps, you’ll do it well, even if it’s your first time styling your Bob wig.
In subsequent times, you’ll be perfect. Happy Styling!










1 comment
These step by step instructions make styling a bob wig seem so manageable! Can’t wait to try them out on mine. Thanks for the helpful tips!