


1260 Memorial Drive
Atlanta, Georgia 30316
404-458-1330
How to Repair Your Lace Closures & Frontals Back to Life
Mikey MoranI know you are just like me when it comes to a bomb sew-in or wig.
I want mine to last for months, but we all know quality hair requires quality care!
I’m about to help you keep your lace closures and lace frontals looking like you just bought them with some crucial tips that will keep you looking cute and make your bank account a lot happier!
No more buying new closures and frontals to replace the ones you don’t know how to clean.
I’m going to teach you how to successfully give CPR to your hair and give it a new life with a take on how to fix closures!😻

Getting Started
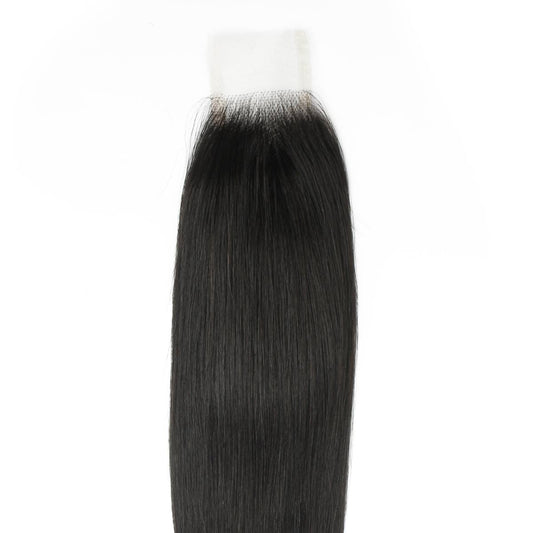
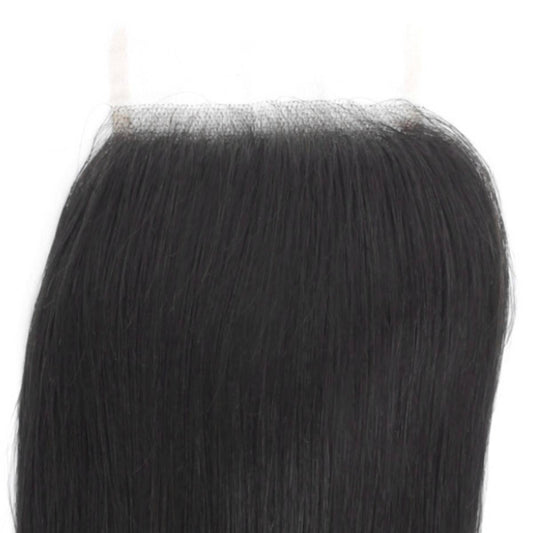
You just ordered your frontal or closure from Private Label, and I know you can't wait to get that delivery notification.
You are extremely happy with the quality of the hair that you receive so you happily head to your appointment to you get your sew-in, or you get a wig made.
You're looking flawless but what do you do when your closure or frontal starts to look a little on the dry and crusty side?
You know what I'm talking about don't you?
After all of the Got2B glue, hairspray and other products such as edge control it can start to look white, flaking and stiff.
Don't worry I'm giving you your first aid list to help bring life back to help you get your lace closures and lace frontals looking flawless again.
Supplies
- Toothbrush
- Alcohol
- Foam Head
- T-Pins
- Organix Shampoo
- Organix Conditioner
- Hair Clips
- Face Powder
- Eyebrow Pencil or Pomade
- Concealer
- Eyeliner or Lipliner Brush
- Invisible Thread
- Small Sewing Needle * use only the tiniest needle available to prevent damage to the lace

Removing Glue and Products from Closure/Frontal
I know you are all about securing the wig, but you have to make sure your hair stays on point so whenever you wear it you’re looking your best!
After a while of wearing your closure or frontal, it can get dirty and goopy from all of the different products you use to style your hairline and hair.
I know you love the lace glue, freezing spray, an excellent edge control, and even makeup but you have to remove these products regularly to keep it looking like the rest of your extensions.
If you don't take care of them, they start to look frizzy and lose their curl pattern quicker than they should.
A lot of times it’s not the quality of the hair that may be poor, but the poor quality of care and maintenance you give that can make your frontal or closure look like you’ve had it a year when it’s only been a few months.
It’s all good though because I’m going to give you all the details on how to keep your closure or frontal looking bomb no matter how long you’ve had it.
So press play on your Beyonce’ playlist, and let's get this hair flawless!

The Pin-Up
- Pin your closure or frontal to your foam head if it is still attached to your wig.
- By doing this, it allows you to see the area you want to clean a lot better.
- Take your Organix Coconut Shampoo (or any other shampoo) and apply a small amount to your closure or transparent frontal. Use your toothbrush and gently scrub it into the lace.
- Don’t get so happy you start rubbing hard because you don’t want to tear it. Girl, you’ve paid a lot of money for it so handle it with care!
- As you scrub, you’ll start to see the gel (that white goopy stuff) beginning to ball up.
- You can pull some of it off with your fingers so don’t be scared to do so.
- On your frontal, you want to go all across it from temple to temple.
- At this point, you can press play on one of my favorites from Queen Bey “On The Run” because you are about to have your hair so lit you’ll be ready to take on the world with your wig and your bae.
- Rinse out the shampoo and check the results. If you still see any remaining product, use your Organix Conditioner and your toothbrush to gently brush the closure or lace frontal again (remembering to be gentle).
- Next, apply conditioner to your closure or frontal and allow it to remain on the hair for about 5 minutes.
- It’s a good idea to deep condition it to keep it in tip-top shape.
- If you did not need to clean the closure or frontal again, go ahead and condition it anyway. Run your fingers through the hair to remove any tangles.
- Rinse your hair and make sure you remove all the conditioner.
- Go ahead and blow dry or air dry your HD closure or frontal.
- When it’s dry, I’m sure you’ll already have your next style in mind, and your hair will be ready to be installed on your foundation braids or wig unit.
You are looking, perfect girl! I see you!!!
Some people use rubbing alcohol to remove residue and I think it’s just a preference.
One tip is the stronger the percentage of rubbing alcohol the quicker it works.
I prefer to use shampoo and conditioner because it's gentler on the hair.
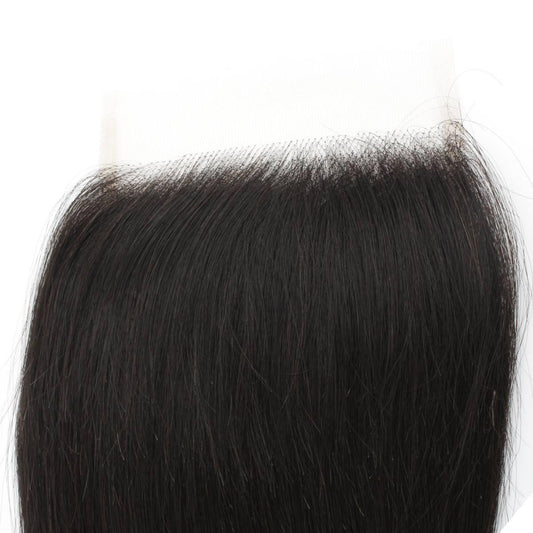
 Balding Closure or Frontal
I am too upset that my frontal looks like a swarm of migrating birds are having their fun with it!
There just isn’t anything cute about a balding and spotty closure or frontal.
I have to fix this asap, and while I do, I’m going to share my process with you. You know what you’ve got to do first!
Press play on your Drake playlist and let's get to work.
Repairing Smaller Spots
I recommend using the following process in small areas about the size of a dime or smaller.
This won’t work well in areas with more significant bald spots. Grab up one of your dark eyeliner or eyebrow pencils to color the lace where the bare spots are.
Use a face powder or concealer to create your part.
Use a dark eyeshadow to color hair roots and blend out with the rest of your hair once you define your part.
This repair is similar to the following part repair, but this requires you to color the lace as well.
If you are a pro you could always use bulk hair and re-ventilate the lace. We are going to keep this for the experts.

Repairing Larger Bald Spots
Another technique is to sew wefts onto your closure or frontal to cover up bald spots.
You can use some of the tracks from your hair bundles used to make your wig or completing your sew-in to replace the bare areas.
For areas larger than a dime this process works well.
Fold your frontal or closure where most of the bald area is. You are going to use invisible thread to sew the frontal together at the fold.
It’s crucial you knot your stitch at the beginning and end to ensure it stays in place and doesn’t loosen. Sew your tracks on just as you would if you were creating an invisible part but make sure you sew the extensions in the back of the closure or frontal facing toward the rear of the head.
Constructing it this way helps to hide the wefts. Sew your tracks alongside the part with the wefts facing the center part.
Hopefully, you will have enough hair on your closure to hid the wefts. You may need to change your part location, but I think that's okay because you get to use a closure or frontal that you would have thrown away.
In the front, sew your wefts facing toward the back of the closure or frontal and the hair hanging over the front.
You should have a small part left after this step. At this point, you will use your concealer and brush to fill it in.
I suggest you take your time with this because you want to make sure you handle the lace carefully as not to tear it.
After completing this repair, I can guarantee you’ll feel like you just aced a Geometry exam!

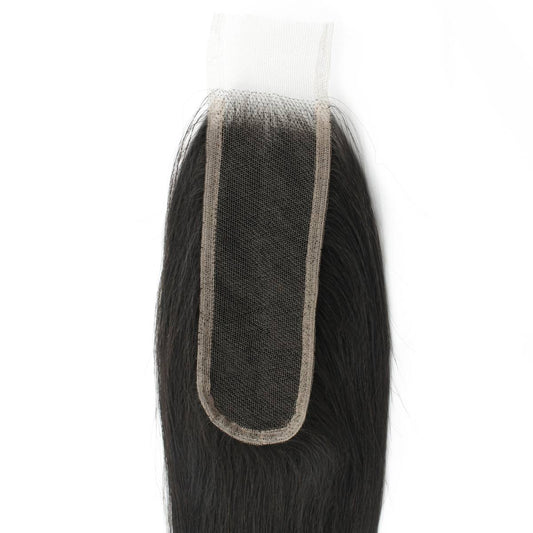
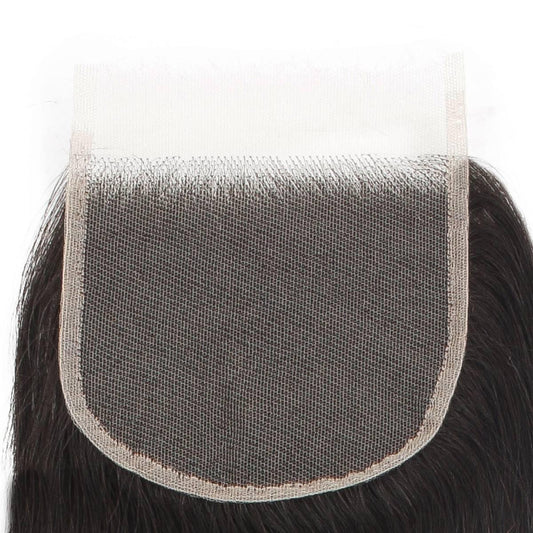
Part Too Wide
I love the center part, but mine is getting a little out of control on my frontal. I admit this is a huge pet peeve of mine, and I cannot rock my frontal if the part is the size of a jumbo pencil.
So, when I see someone else with one I am like “uh...no ma’am,” “take that off,” and “what were you thinking baby?"
I know you are just like me and invest a lot in your frontals and that’s why, as your virtual best friend, I am going to help myself and you at the same dang time.
Pro Tip: If you are in need of extra parting space go with a 13x6 Frontal or 7x7 Closure.
Since this process won’t take long, you can start binge-watching Insecure (love my girl Issa Rae because she is a big deal) while we get these frontals together.

Bringing Your Frontal Back to Life
You know I always believe in shampooing and conditioning my hair before I work with it because you want to be able to put your wig on and keep it moving.
After blow drying/air drying your frontal go ahead and style it how you want to wear it. This way when you are repairing your part, it’s going to look right when you finish.
Use a pencil (eyebrow or lip pencil) that matches the color of the hair.
You want this to mimic the hair on your lace. Therefore, this is a crucial step.
Pomade is another option if you have any but make sure you use a small brush similar to a lip brush to apply it so you can control the placement of the product.
Fill in the bare space, on each side of your part, to make it appear slimmer.
Don’t rush through this because you want it to look natural and realistic and make sure you are swiping towards the hair and away from the part.
Use a pencil or pomade to fill in the bald space on each side of your part to make your part a lot slimmer.
At this point, I can hear you saying “Yesssss” and you should because you are doing a great job!
The next step is to comb through the closure to blend the pencil/pomade in so it’s not noticeable.
At this point, you are almost ready to rock your new (nobody has to know it’s not new) frontal.
The last step is to re-define your part with a concealer. Make sure your concealer is a fawn color, or similar to give scalp realness (did I just create that...lol).
Use your eyeliner brush to create a thin line on your part.
You want it to look like clean lines in between braids like you used a rattail comb to part it.
Make sure you are light on the concealer because a little goes a long way! I’m screaming “look at you!” You are cute!

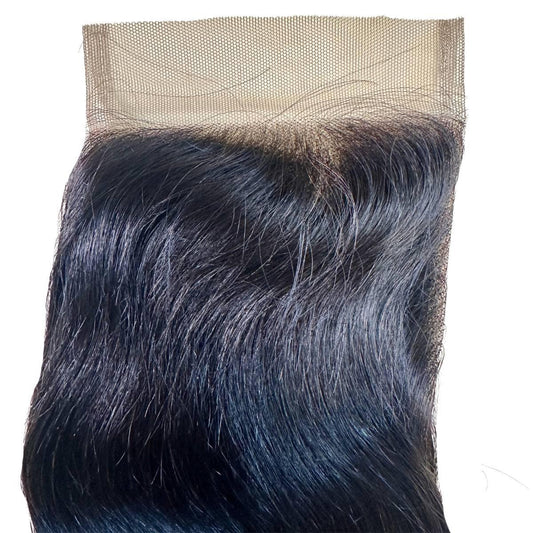
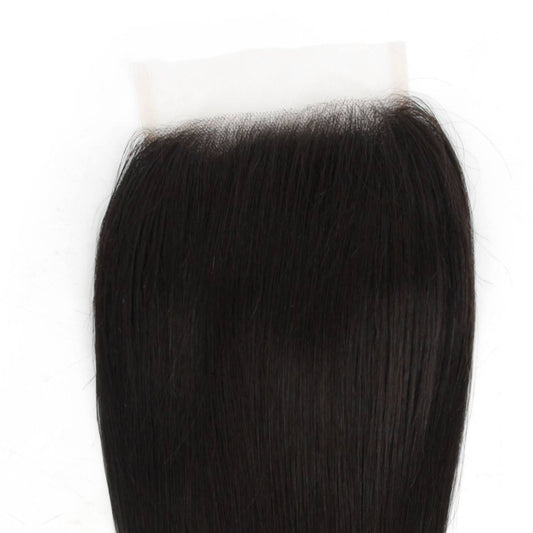
Lace Hairline Repair
By now I feel like we are best friends and I can ask you the following question.
Is your lace front bald in the front? Did your baby hair realness disappear? What about your edges?
I am coming to the rescue because friends do not let friends walk around with struggle lace edges.
For this repair, we’re going to need to press play on our Rihanna playlist because we need to show this front who’s boss!

Style the Frontal
Go ahead and style your frontal how you want to wear it because you will be wearing your wig while completing this repair.
Once you’ve styled it go ahead and cut off some of the lace that is sparse or bare.
You can’t do much with it so you’ll need to get rid of some of it to revive your frontal edges.
The reason you want to have it on is that you want to make sure you don’t cut too much lace off (Rihanna can put you in a zone, and you may lose focus) of your frontal.
This next part can get a little tricky because you want to re-create your baby hairs. Make sure you thin your hairline out a bit at a time, so it looks as natural as possible.
It won’t look right if you have baby hairs and then this volume all-around your hairline.
My tip is to take your time here and do a little at a time instead of cutting too much all at once.
Once you part your hair where you want your baby hairs to be, you will trim the hair to baby hair length.
If it looks like you stuck your finger in an electric socket (disclaimer: please don’t do that) and your baby hairs are sticking out like a porcupine you’re good to go!
You can take your lace front or closure wig off now and pin it to your foam head. You know what we have to do now!
Pluck these edges to get them right! Take your time when doing this task.
I would prefer you under pluck (is that a thing) and then go back in to pluck a few more hairs than create bald spots.
Go ahead and put your wig back on once you complete this process. Secure it with tape or glue at this point.
You are now ready to lay your edges girl! You can use our edge control to style your edges.

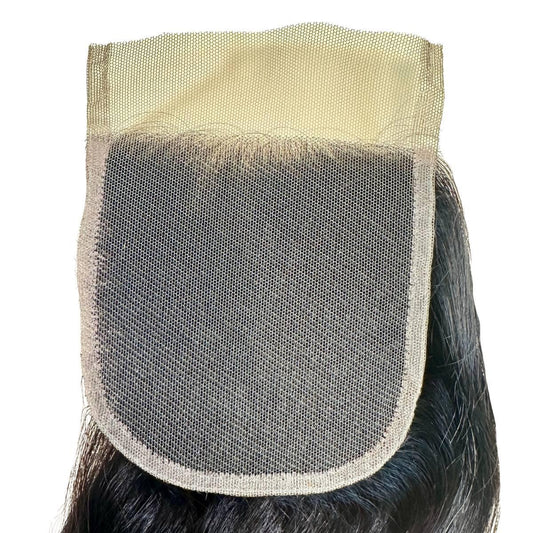
Ripped Frontal Repair
Okay here's the truth.😇
As I was removing my frontal from my lace front wig, I accidentally cut the lace. Yes, my heart fell to my stomach, and yes I felt instantly ill.
Thank goodness I have a way of repairing it, so the panic has worn off.
To be honest, there's no need for any music while you complete this repair because you will need to focus.
Not because the fix is complicated but because I know you think you're going to pass out if this doesn't work (Check out this article: how to fix frontals).
Grab your invisible thread and create a knot with your first stitch. Continue to sew the rip together with small stitches being careful not to damage to the lace any further.
Create another knot at the end of the stitch and cut the excess thread once you have entirely sewn the rip together. See how easy that was and nobody will ever be able to tell!
I hope this article motivates you to pull out your closures and frontals and resuscitate them.
Of course, if you don't feel like dealing with lace just grab a headband wig and the worries are over.
Learning how to repair your lace frontal will save you money.
If you use any of the methods or know any repair tips leave a comment below and share the knowledge!💗
2 comments
Great tips for repairing lace closures and frontals! I’m curious, though do these methods work equally well for different types of hair textures and lace materials?
Great tips on reviving lace closures and frontals! Keeping my hairpieces looking fresh and saving money … thanks for the detailed guide!