10 ways to stage your product for social media

Staging Techniques: 10 Ways To Stage Your Product for Social Media

Product Staging 101

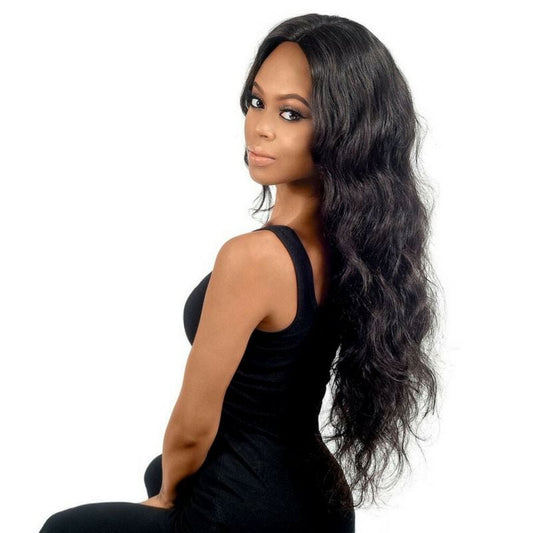
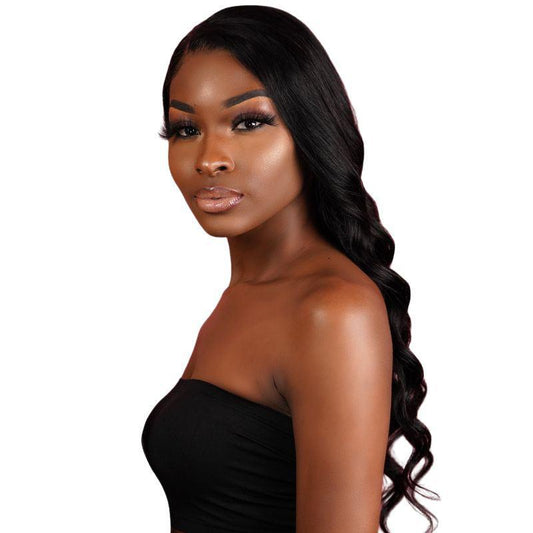
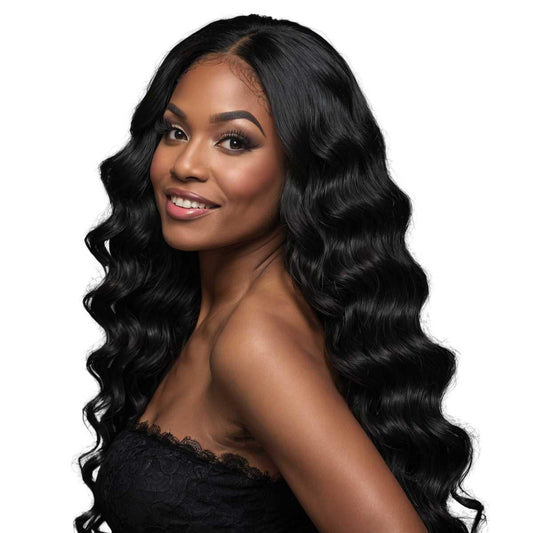
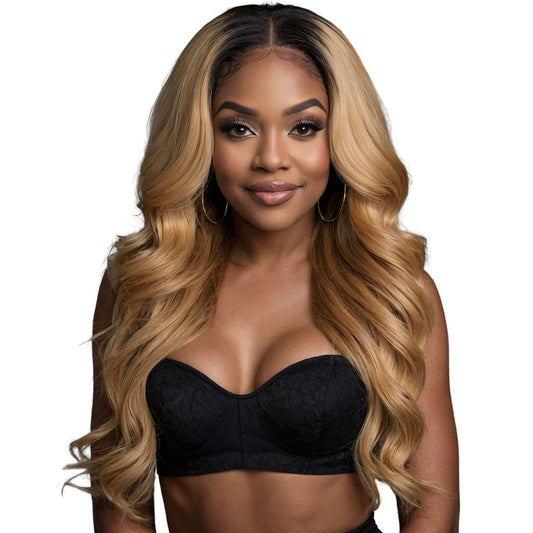
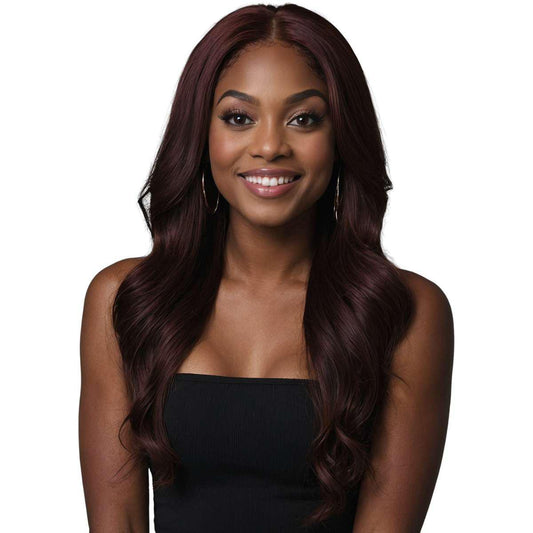
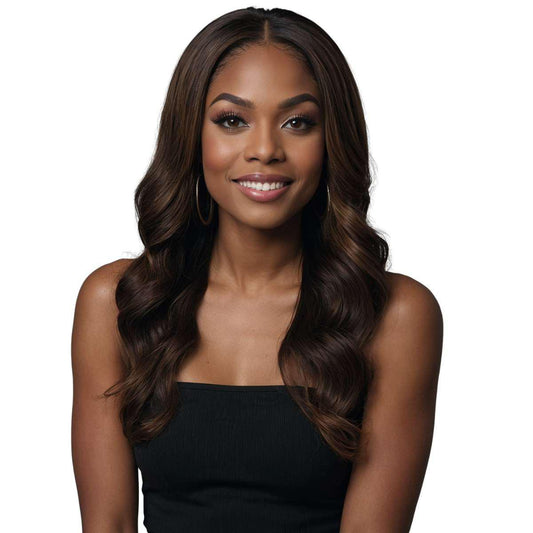
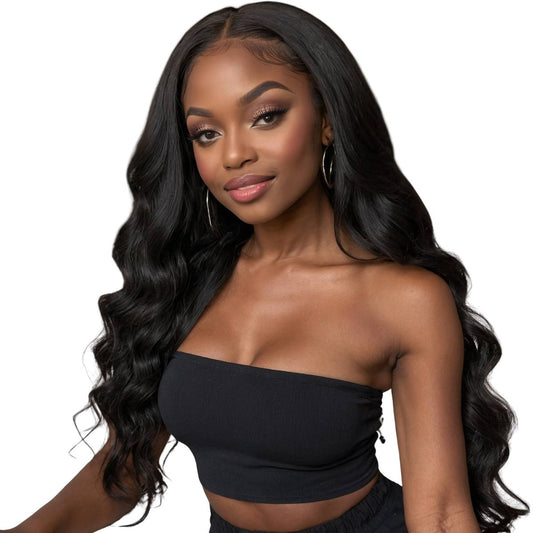
When it comes to marketing, staging your product or subject can either make or break your strategy. Now, of course, you should always want to take the better route! Social media has become most of our online portfolios. You may get hundreds of views on your page a week, but are you bringing in hundreds of dollars in sales. Right now, the hair industry is booming, and so many companies are trying to persuade others why their products are the best. Well, whoever can sell an image or vision through the Internet is the one who usually gets more sales. Whether you were selling bundles, wigs, a book, or water bottles, the steps needed to capture that million-dollar image are all the same. Because when you think about it, you’re just clicking a button that snaps an image. You just have to know how to set that image up to get the best shot. When it comes to photography, it just takes a few tricks to master a great photo. You will know you did it correctly when you view the image, and the subject is standing out. Below I’ll go through 10 ways on achieving the best images.

Learn Your Camera

First things first, when staging, you must learn your camera. I can’t tell you how many people take photos wondering why they don’t get good images. 90% of shooting is all on your camera; this goes for professional cameras and smartphones. Yes, these new smartphones are almost as good as professional cameras. Either way, you must know what you’re, doing, first. Reading your manual book and practicing are the best ways on learning your camera. If you’re looking to learn how to capture certain images, you must know what settings you will need. The trick for capturing a certain subject while staging is to focus. It’s going to be important for you to learn what camera settings you will need to focus on your subject. Are you shooting indoor and or outdoor photos? It’s best to know ahead of time so you can prepare since that will require a different understanding and set functions. If you’re new to photography, I would suggest starting outdoor since it’s easier due to the natural light. Indoor photography requires a lot more knowledge. Both locations will give two different results as well. But don’t ever feel defeated when learning how to shoot your camera. After a few practices and having a great understanding, you will be fine.

Lightening

Lightning has to be one of the best tips you will get on learning about photography staging. For the most part, bad lightening is what causes bad photos. When you snap a photo of someone, and his or her hair fades in with the background or isn’t detailed, it’s probably because your lighting is off. Once you understand lightning, you will be on your way to snapping great shots for your social media.

Use a Soft Box Light

You will typically see softbox lights in photography studios although you can use them wherever you need to. It’s a lightening device that normally comes on a tall stand. It is external lightening that will help shine the light on whatever you decide will be the focus. When shooting hair, you would want to have the softbox positioned on top of the person. The light will illuminate the hair so when you take the photo, whatever the light is shining on will get the most focus. Now, your softbox may not come on a tall stand that can go over the head. So what you would need to do is make sure you have two boxes and set one on each side of the person. This technique will make sure your image is lightened evenly and focused properly.

Use Natural Light

Don’t have a softbox to focus on the hair or product? Not a problem, just use natural light. Natural light is the best light anyway, especially the sun. When shooting in the sun, there are a couple of things to remember. First, depending on how bright the sun is, make sure it’s behind you and not the person. You don’t want to be shooting in the direction of the sun if it’s bright because it will cancel out everything in the image. When shooting hair in the sun, it would be best to get as close as possible to the person since hair is the focus. If the sun is on the side of the model, you could have them just turn their head to the camera, so the sun hits their hair. Your models face would be clear, but not the focus. This option would also be good if your model has a light hair color. If the color is too bright, it may cancel out.

Window Light

Using natural light through a window is another great option. Window lightening can create a silhouette with the help of a softbox. Place the softbox on top of the model or the sides; the hair would be well lit leaving everything else dark. This technique also gives the mysterious vibes of the image. If you’re just using the window light, you should have your model’s head facing towards the window while the rest of their body faces the opposite direction. This setup will give a nice glow to the hair. Are your products eyelashes? Having a model in a well-lit area would be great for capturing them. The model's eyes would bounce off from the natural light, putting all the focus on the eyelashes.

Props

Because what is a photo shoot without any extra materials or tools? You will be surprised how a little effort goes a long way. While shooting on your smartphone or professional camera, having the following three items will help you drastically when marketing!

Blurred Background

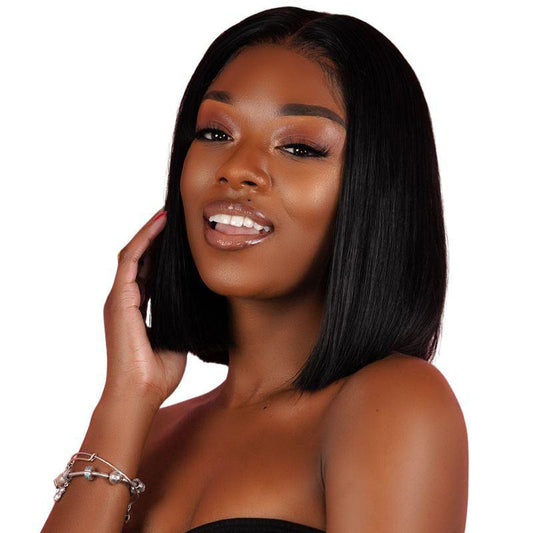
The difference between a blurred background and a blank background is the effect it gives. A blurred background also is known as Boca, is a great way to have your subject stand out with a wild background. If you’re shooting a real dramatic hairstyle, a blurred background will give the appearance of chaos in the background and draw all attention to the face and hair. Doing it this way would be good for someone who has long hair and even bright hair. Having a subject that pops is key for a blurred background.

Blank Background

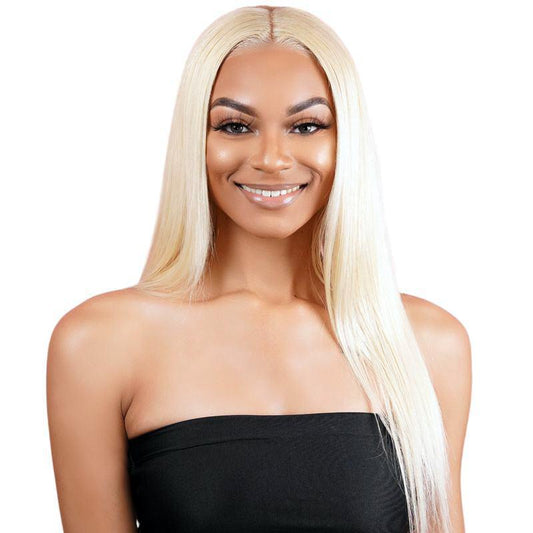
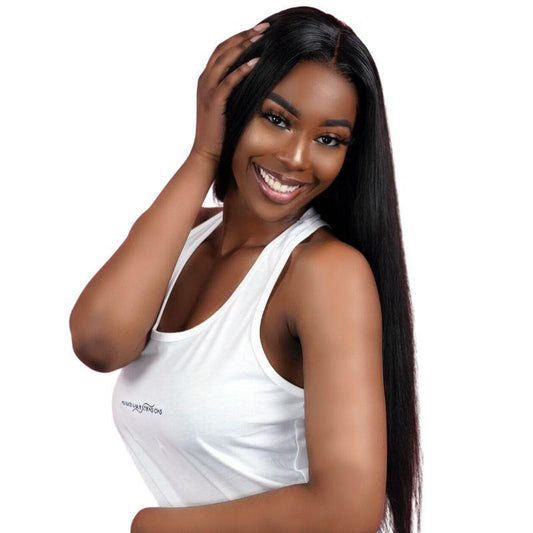
Because you’re if photographing hair, hair should be your only focus. Another great way to ensure it remains in focus is by having your model on a blank background. You don’t want to be shooting a long braided ponytail with three cop cars in the background. That will be a distraction. Also, have your model wear a light colored shirt. Light colors will draw more attention to your model's hair. Applying external light against a blank background puts the hair in a good focus as well. The best blank background is white too. Let's say you’re shooting a small product that’s red; making the background blank and white will scream look at me. Your audience eyes will immediately be drawn to your product making them wonder what it is you’re selling.

Black Elastic Bands

Most people come to photo shoots with their hair already done but what if you change your mind on the style? Keeping a black elastic band on hand will help if you want to change a style quickly. Diving the hair between both shoulders is one look, but then you can also throw the hair up into a high ponytail, which will give another look. Although I mentioned a black elastic band, you can have any color but black blends in more. Keep in mind, depending on how you stage yourself or the model; you can have many different images.

Hairspray

Shine Shine Shine! As mentioned earlier, having your light on your subject is what you need to capture a great image. Along with that, is making sure your hair or models hair is very shiny. Hairspray should be your best friend for this type of shoot. The more shine you have, the more the hairstyle will be in focus. Have you ever seen long luscious hair grazing one shoulder and the white light sits on top of the image? That is what you want! Also, while you’re at it, holding the spray can be very useful as well. Will you be shooting with a fan? Maybe you only want part of your hair to have the moving effect. Use the holding spray to make sure certain parts of the hair don’t move. It will create a real nice mellow picture feel.

Flowers

Whether you’re shooting hair or any other product, adding flowers in the shot gives a real natural, vibrant feel. Staging flowers somewhere in the background of a bright set would be ideal too. Flowers also add texture to your image. Shooting with a blank background is one thing but adding flowers in the corner will give it a new feel. Don’t worry about the price of flowers either because fake flowers are the way to go. They look real, and they're super cheap. They also come in many different sizes. So if your product is really small, like say a book, a small flower pot would be great to set next to it. Try to purchase fake flowers that are a bright, so your pictures always pop! When it comes to marketing, it’s all about doing what you have to, to gain the attention of your audience.

Don’t Be Picture Perfect

When staging your product, don’t worry too much about creating the perfect image. Sometimes the best shots are done when they are random or even when you’re testing a shot. When shooting, just play around with different styles and looks. You could have some that need to be just right and also ones that aren’t. The not so perfect ones allow the photo to be more fun.

Welcome Fly-A-Ways

Have you ever thought about how much character a messy bun gives? Well, it gives a lot. If you’re selling hair extension ponytails, play around with it until it looks a mess! Those are the best ones, of course. Slick the top of the hair back and then create the bun. You could create a “beautiful disaster” image with this look. Even if you’re shooting big hair, don’t focus on the roundness of the hair. Just let the hair do its thing and capture the image and see if you like it.

Use Hands

Using hands in photography is a great way to draw your attention to your subject. It enhances your image way more than you know. Have you ever been shooting someone and they say I don’t know what to do with my hands? Well, I’ll give some tips on the importance of them.

Framing

Using hands will frame your image just right. For example, if you’re shooting someone who has an extremely long braid that’s hanging on one side, have them wrap their hands around it. Doing so will essentially give a gripping effect. When your audience first looks at the photo, their eyes will go straight to the subject. If your product is something like a bottle or a notebook, you don’t always have to shoot it alone. Showing just wrist and hands while holding the product gives it another look. It tells your audience that this product is something you need to get your hands on; get it?

Turn Flash Off

Yes, that’s right, turn your flash off! A flashlights an object but it can also mess up a photo as well if you don’t know when to use it. Have you ever seen a nice photo but it has a glare on it? Well, if you’re staging a product, that’s what you don’t want to have. When you're staging your product or subject, you want to make sure there aren’t any harsh lights around. After you shoot the image, your photo should be smooth and clear. If you’re a photographer and you’re marketing for newborn photos, flash won’t be your friend. To capture those precious features of a baby, you will have to focus on all other lightening options. A baby shouldn’t have a flash in their eyes anyway.

Close Up Shots

Piggybacking off of the importance of having a blank background for staging; close up shots have the same effect. If you’re selling a look or product, you want your photo to only be about that and nothing else. The closer you shot, the better. Close up shots will also allow your audience to see the little details of your products that otherwise may get overlooked on a big background. Are you trying to sell sea salt almonds? We all know salt is the smallest thing ever, so it’ll be crucial to capture that tiny detail. You can also capture close-ups with smartphones and big cameras. If you were trying to capture the texture of hair extensions, using the close-up feature would be ideal. People can’t feel your product over the Internet so showing your audience texture would be a great idea.

Change Your Angles

If you change your angles, you will change your perception! Different angles when staging will give your images a lot more value. When you’re shooting, all you have to do is keep your product or subject completely still, and simply begin shooting from every possible angle. Taking photos from a high distance and then a low distance looking upward will give you different photo options to choose. Pictures typically tell a story. Although, it may not always tell a story to you, to someone else it will. Giving your audience a lot to choose from will change their perception of how they view your product. Of course, if they view it wrong, it may result in no sales. So remember, more angles more sales!

Now Set Your Stage

Regardless of what you’re marketing, making sure it’s marketed the right and the best way is what your focus should be on. Now that we’re living in a social media world, it’s important to make sure your images are better than ever before. People are constantly searching under hash-tags and most viewed images so much that “first impressions” are applying. You want to capture an audience within those first two seconds or else they will scroll right past your image. Mastering the art of staging doesn’t take long so once you get it, you will be on your way to the top. Have you changed the way you’ve taken photos for marketing purposes? Did your sales increase because of it? Tell me your story below; I’d love to hear from you!
Back to blog

Leave a comment

Please note, comments need to be approved before they are published.

Featured product